Sarah Shoots Film

Taiwan

Taiwan was nothing like I expected it to be. It is amazing the stereotypes we come up with about the people and places we have never encountered. I was so nervous about the food and how we would communicate with people. Turns out the people were so graciously kind that I really didn’t have anything to worry about.

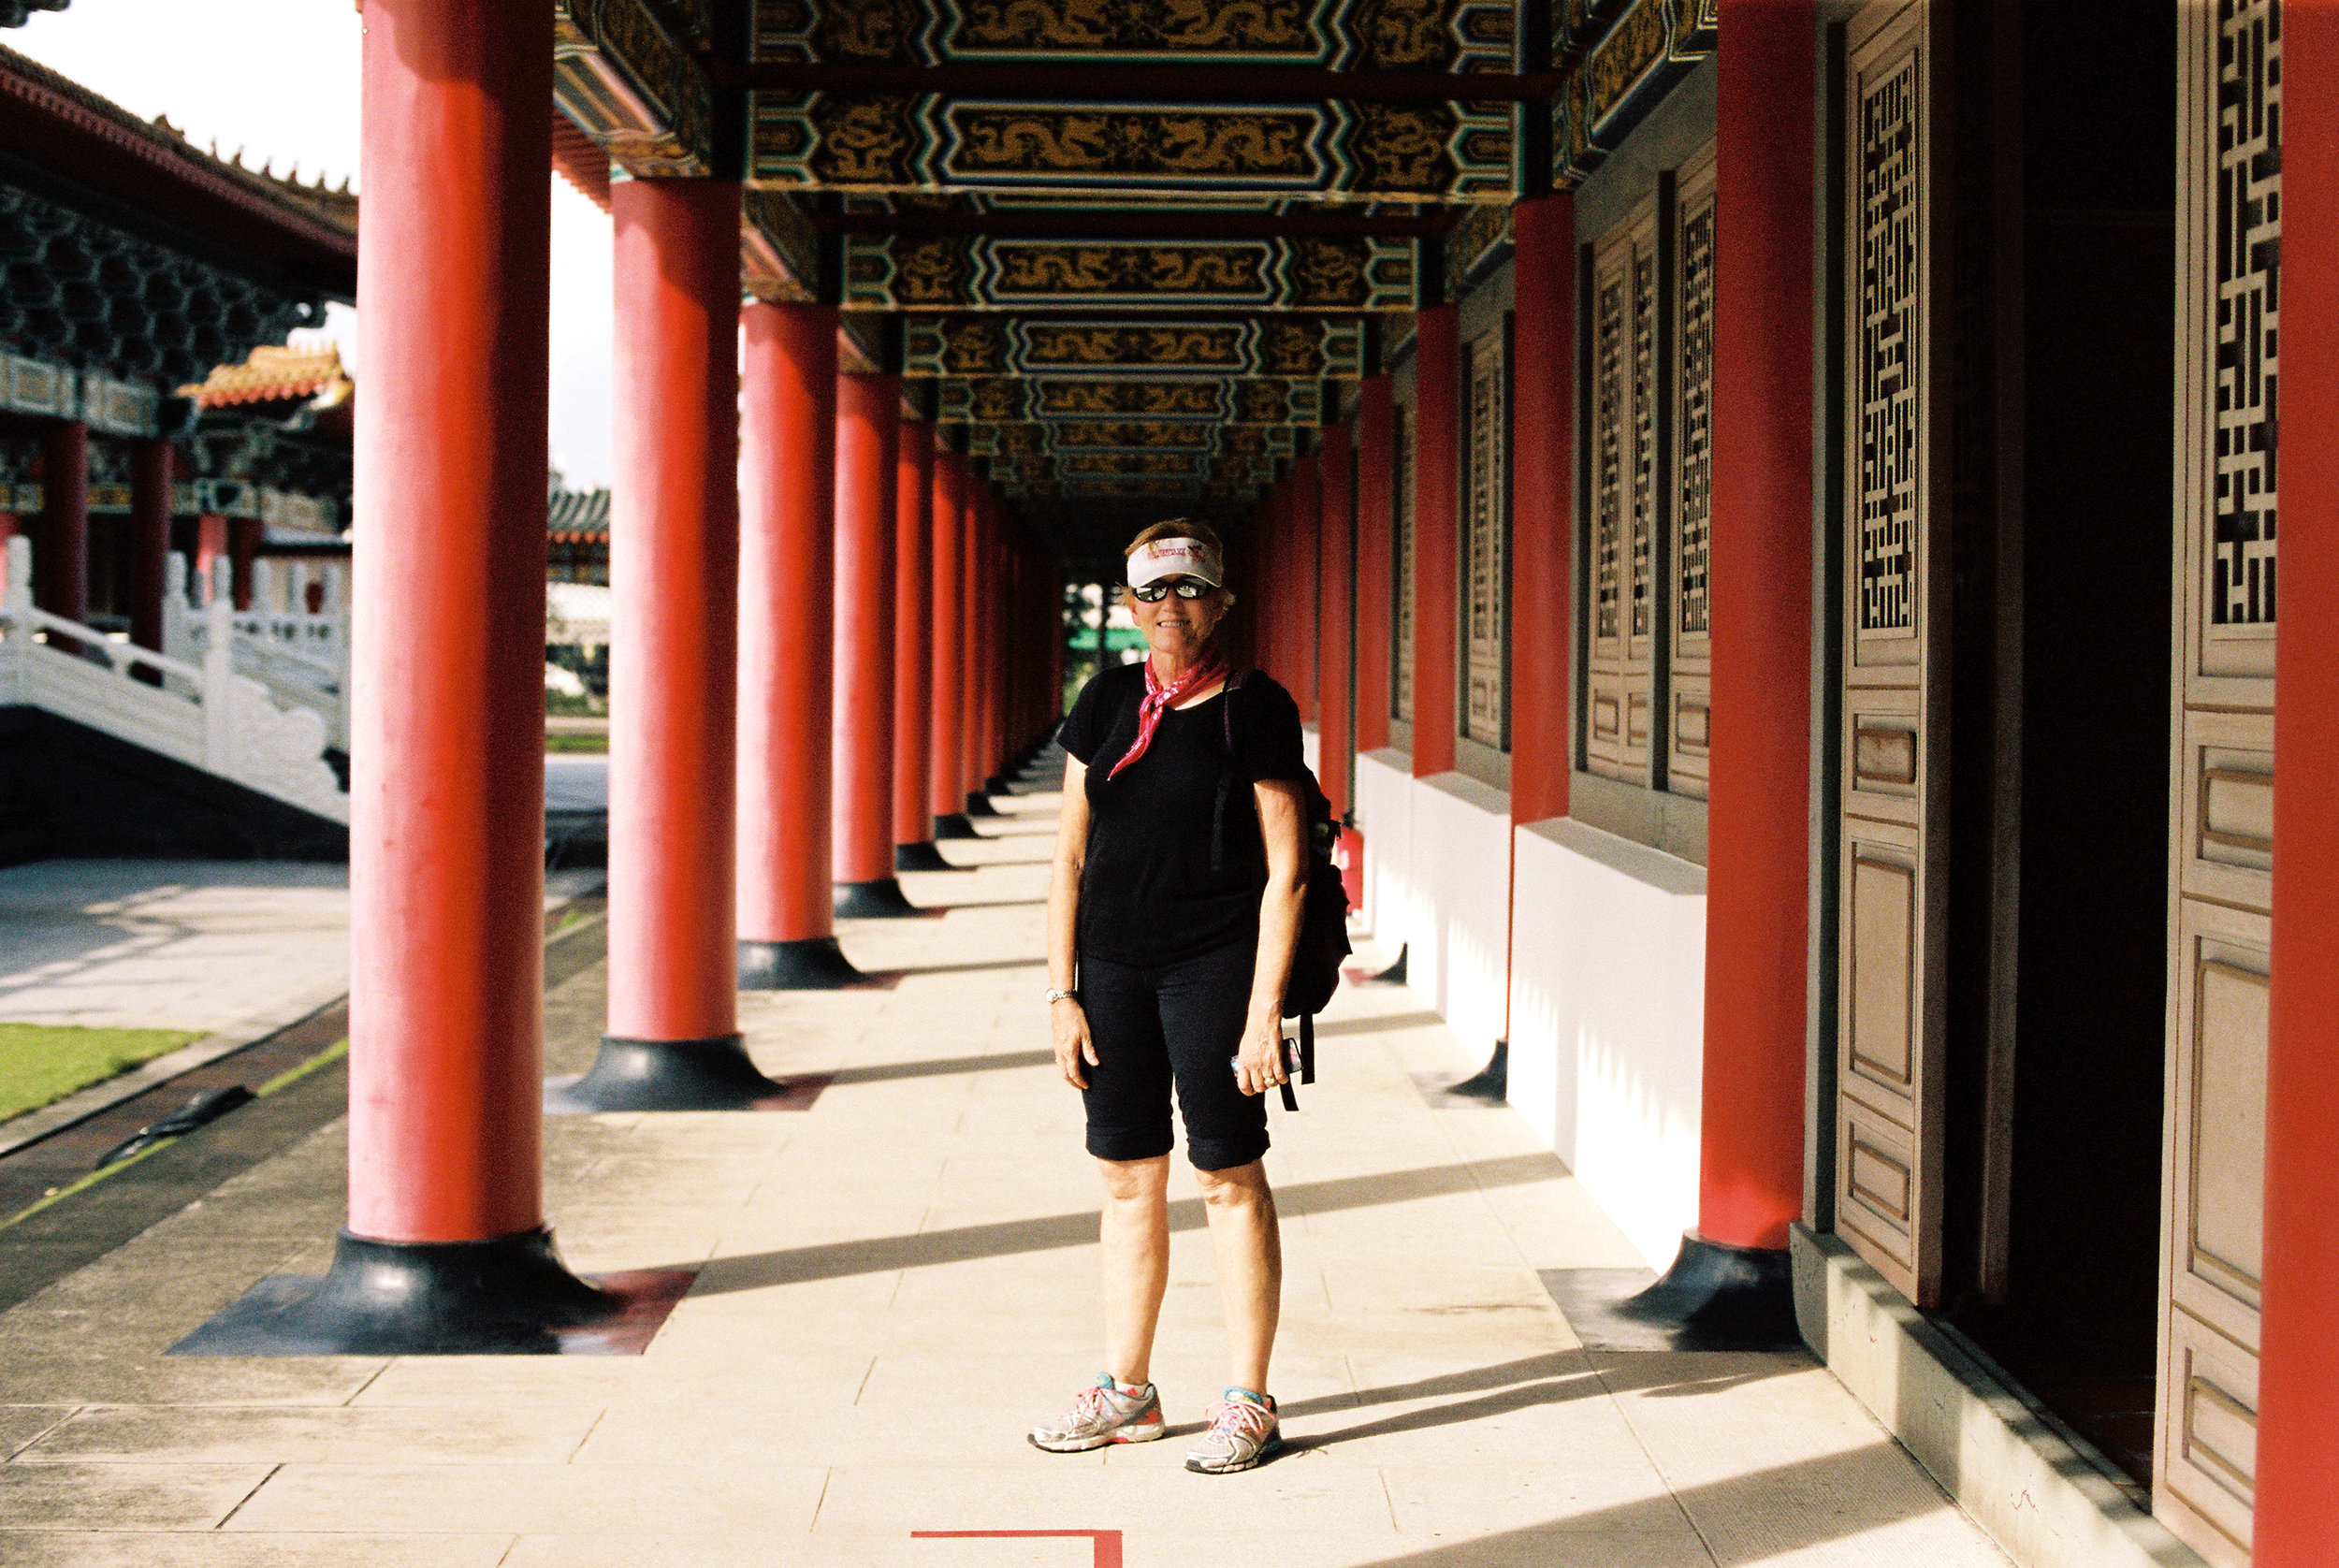
We were fortunate enough to stay with my husband’s Aunt and Uncle who have a wealth of knowledge about Taiwan. Aunt Gloria and Uncle Bob lived in Taiwan in the 70’s as missionaries and currently live there while Bob finishes up his last assignment for the U.S. State Department. They were great tour guides and really showed us the best of Taiwan.

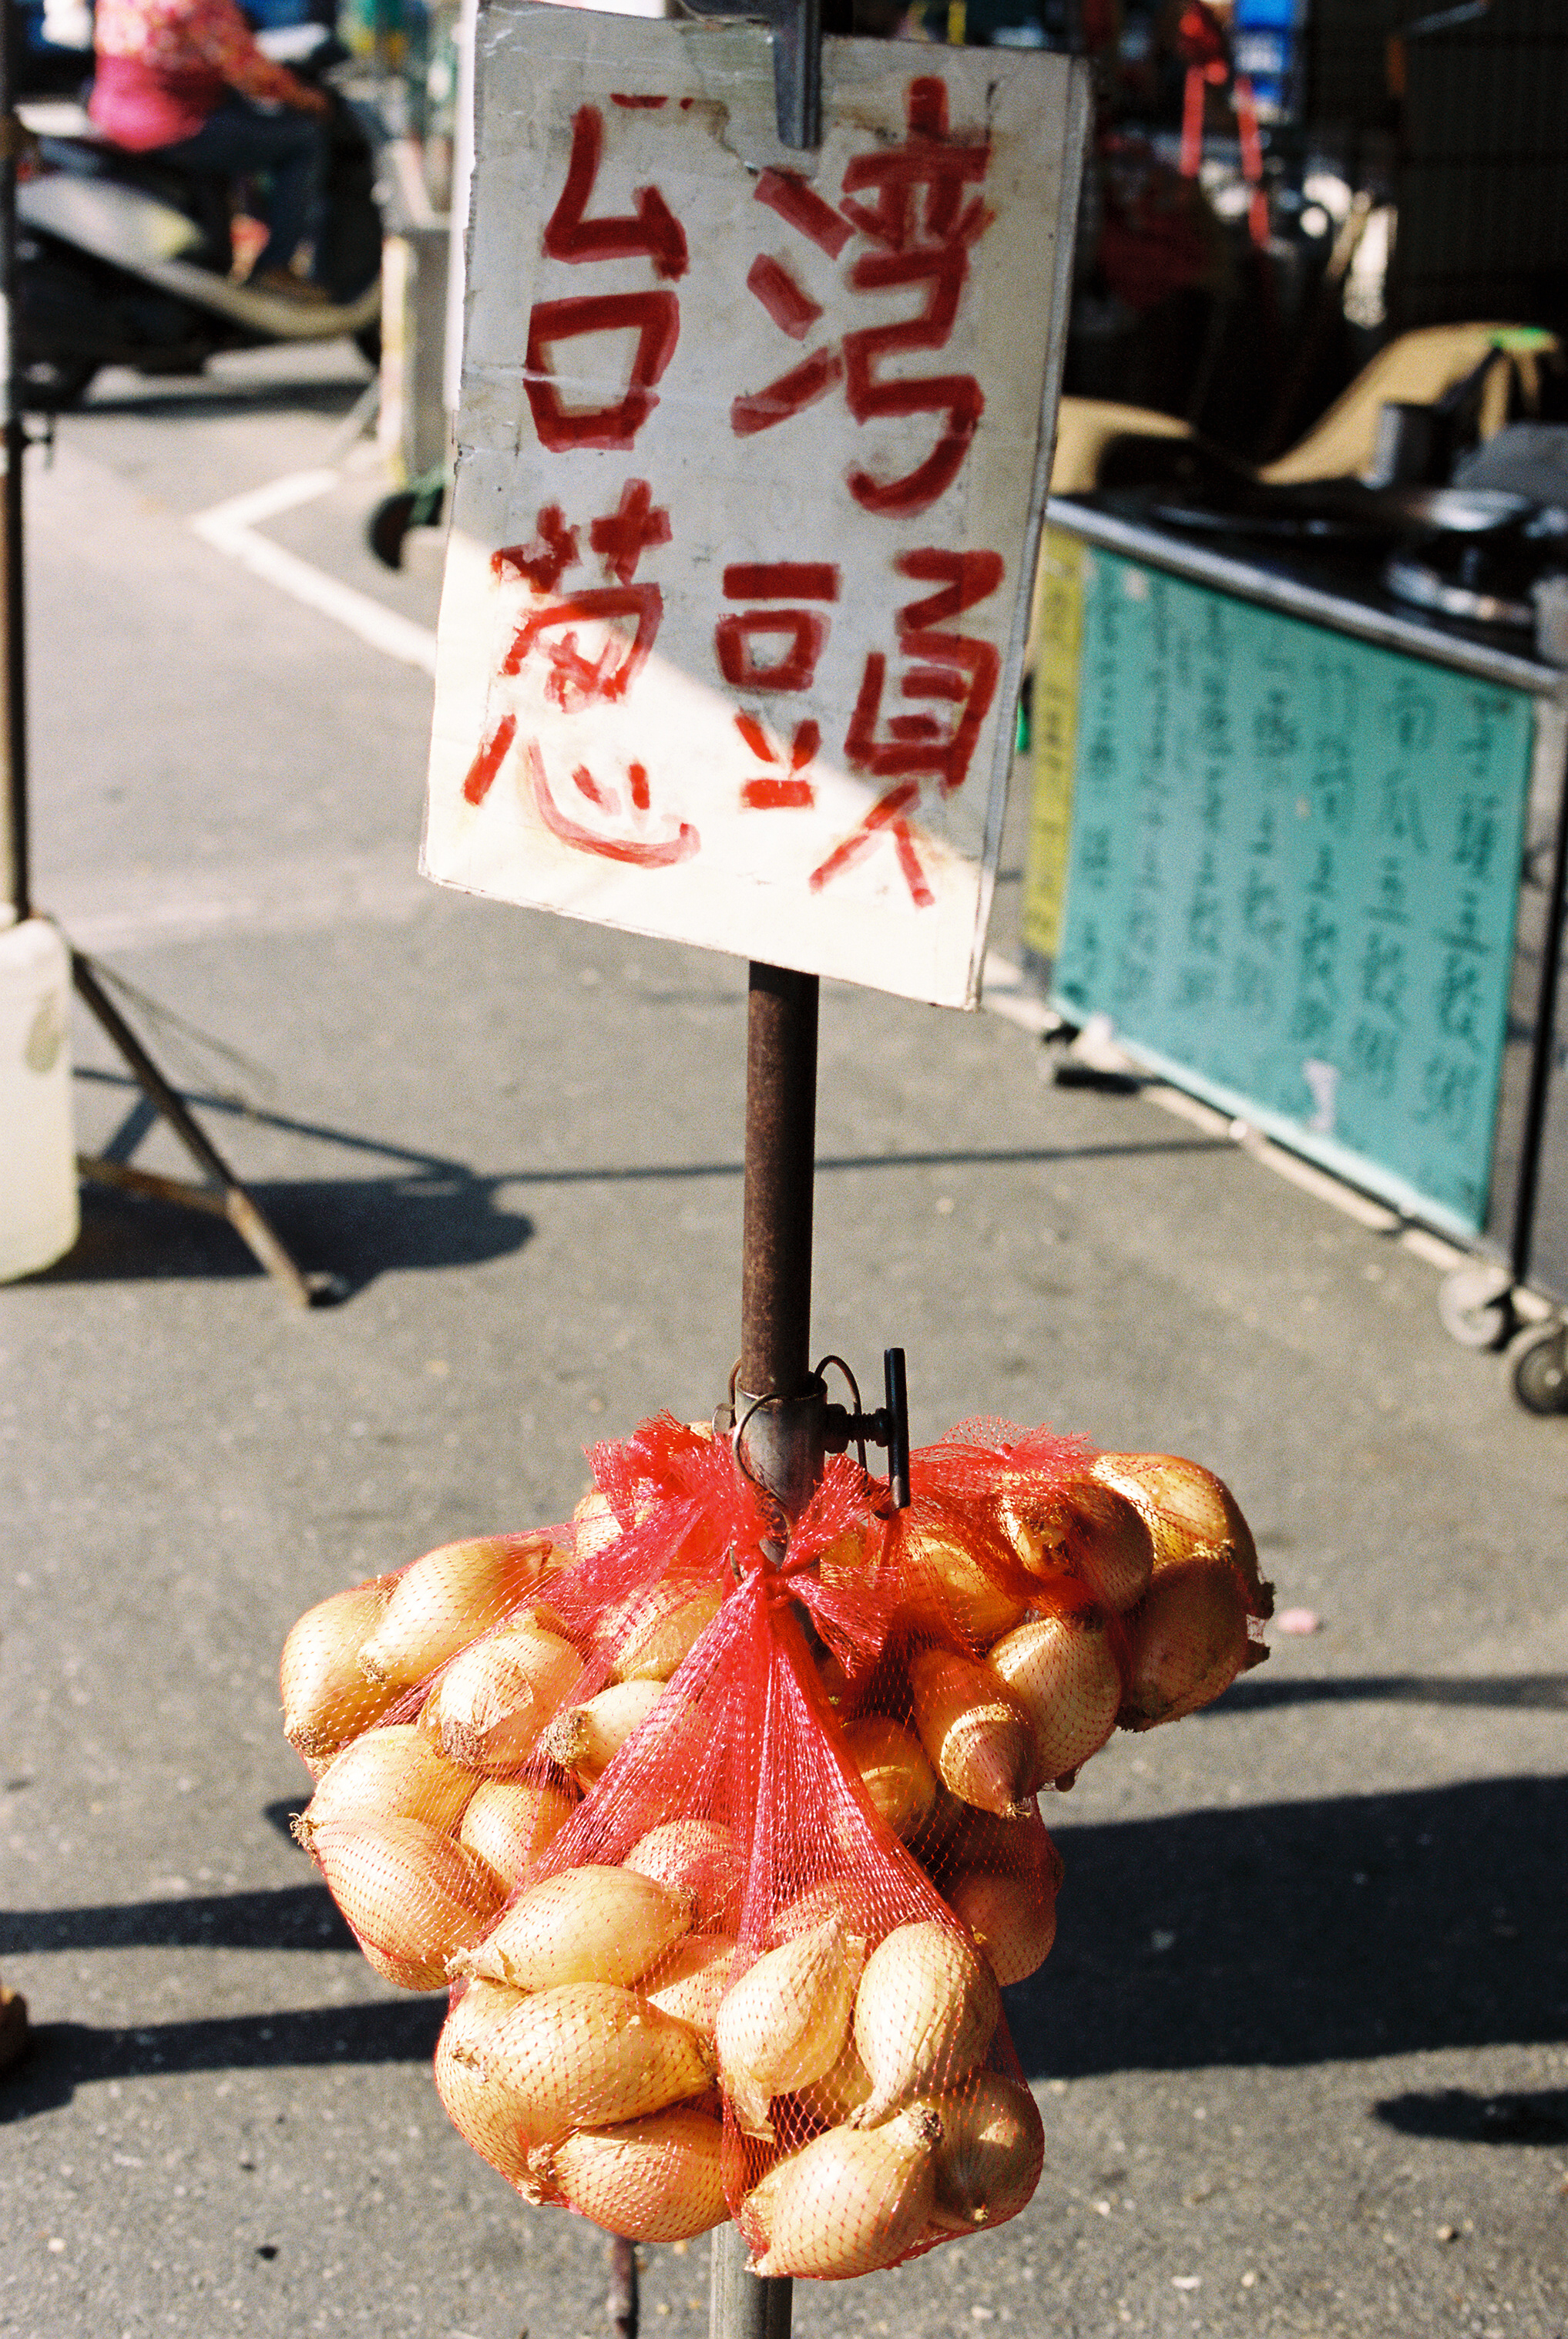
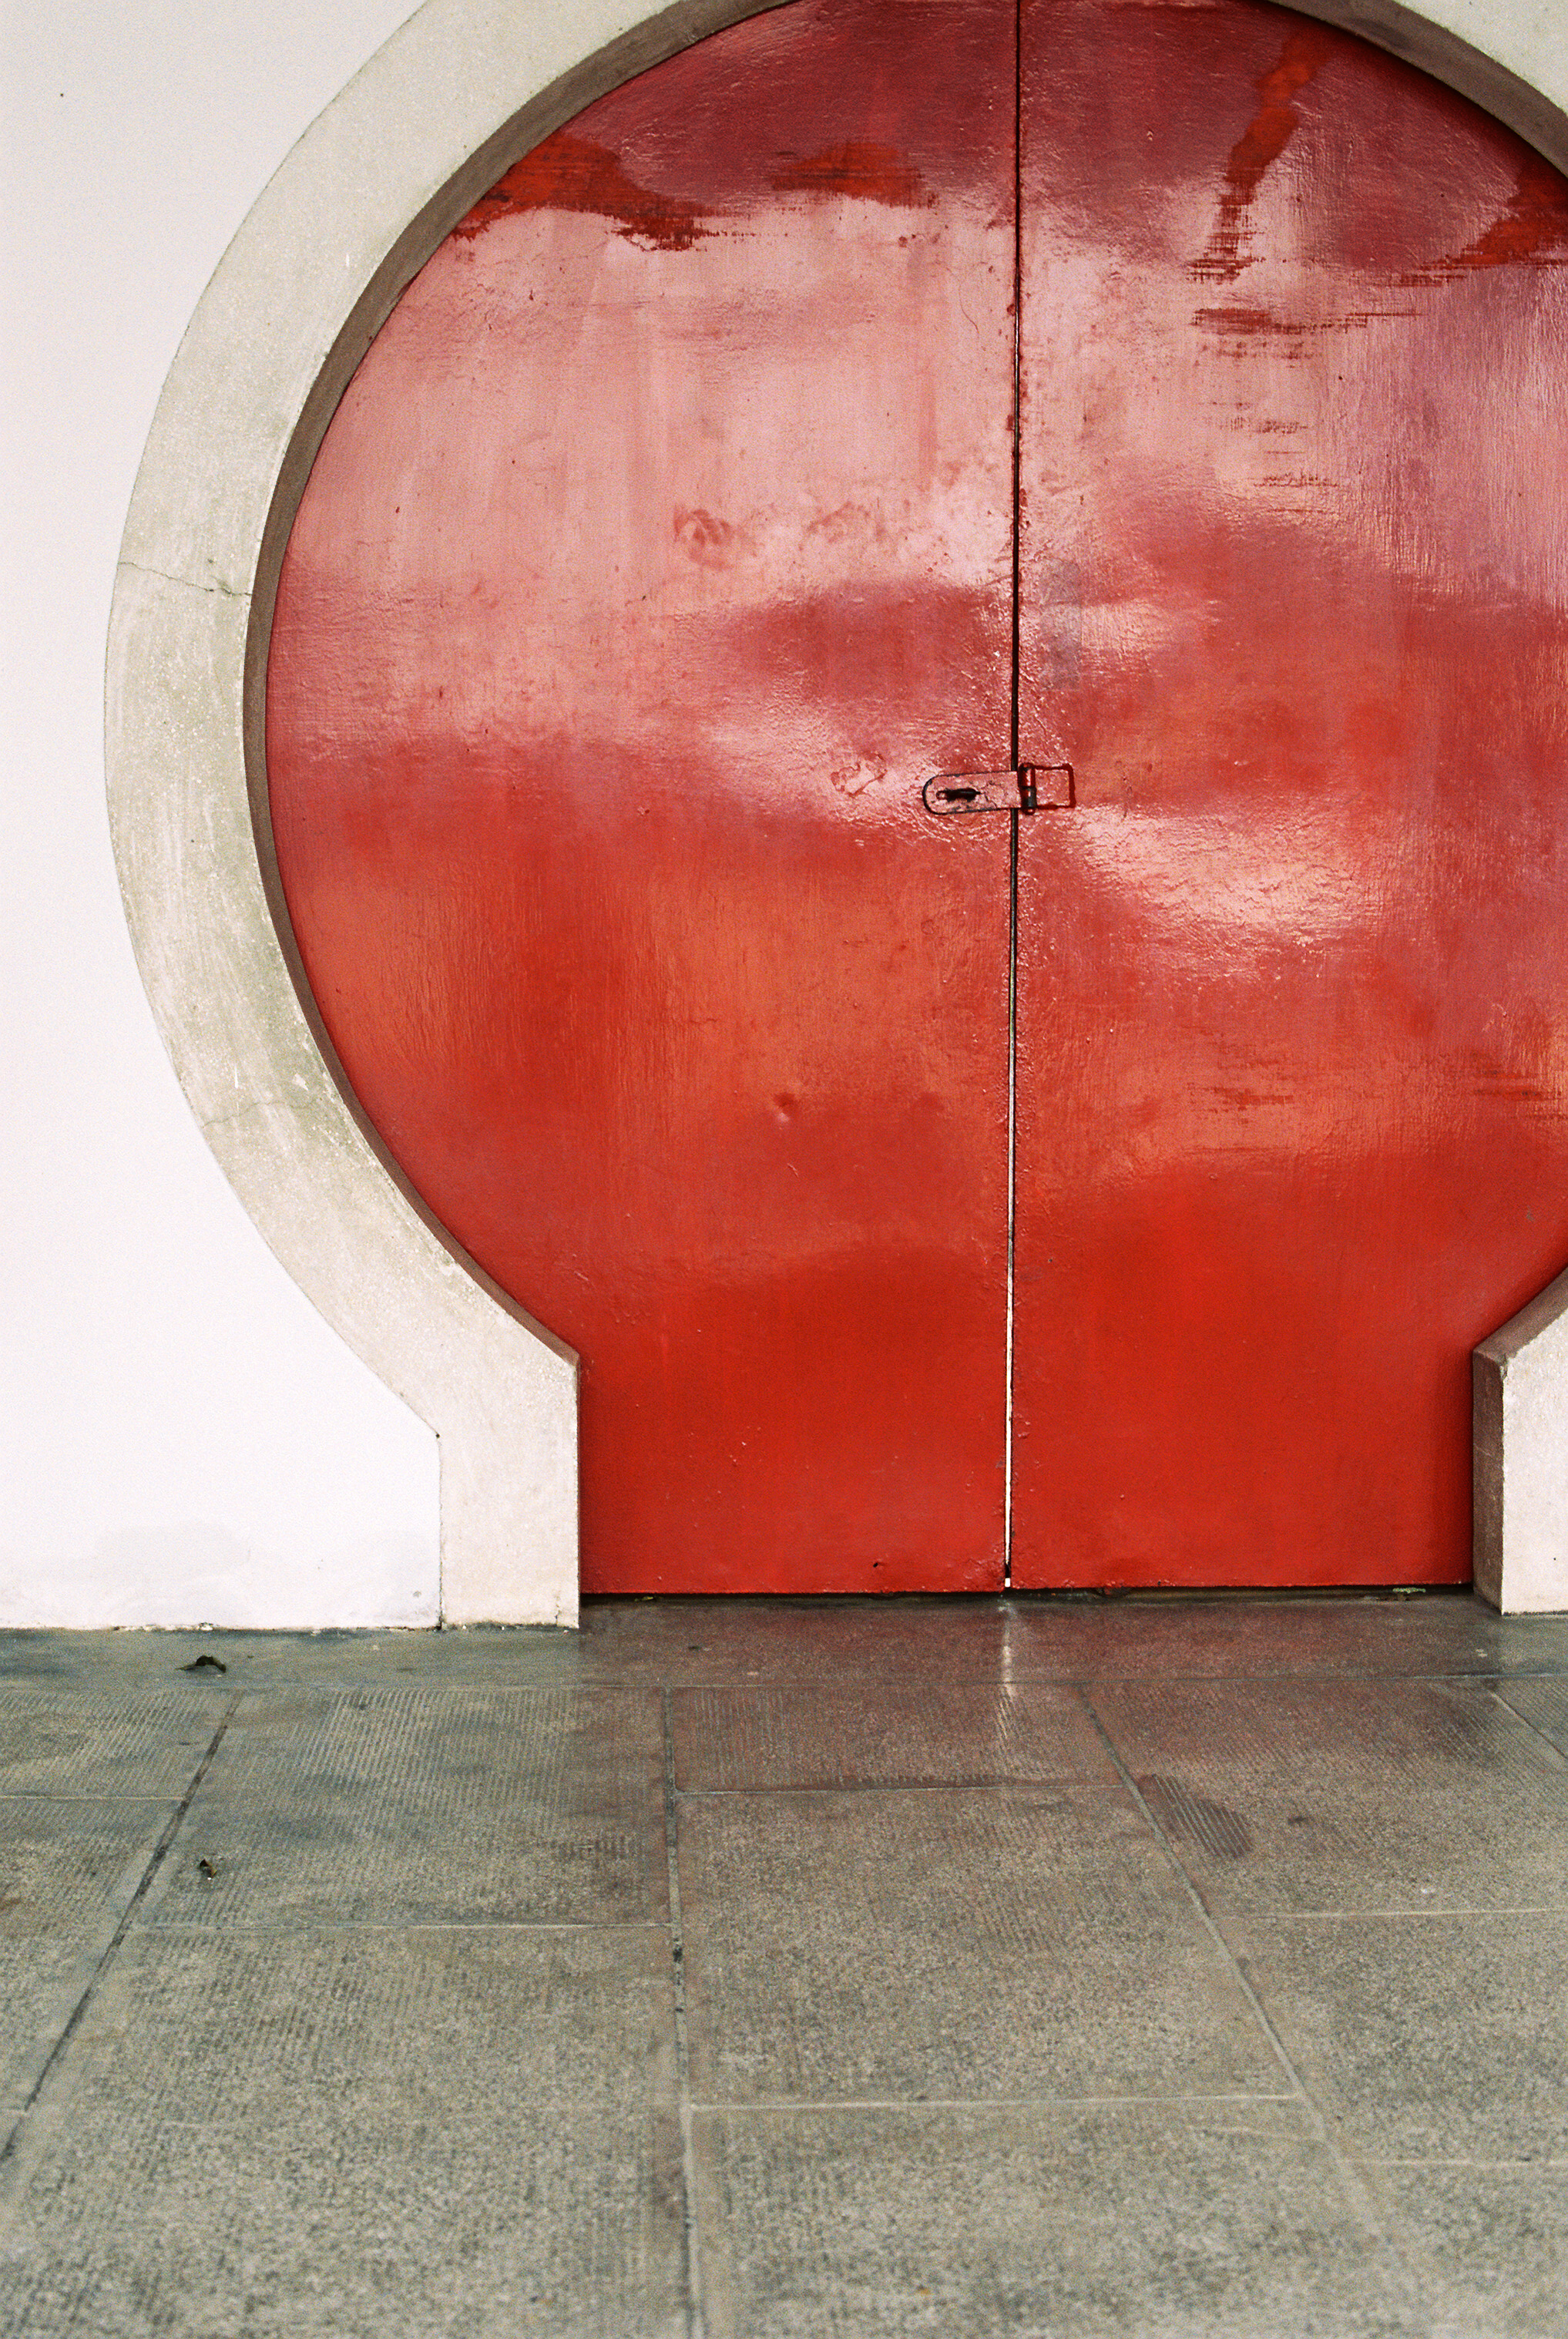
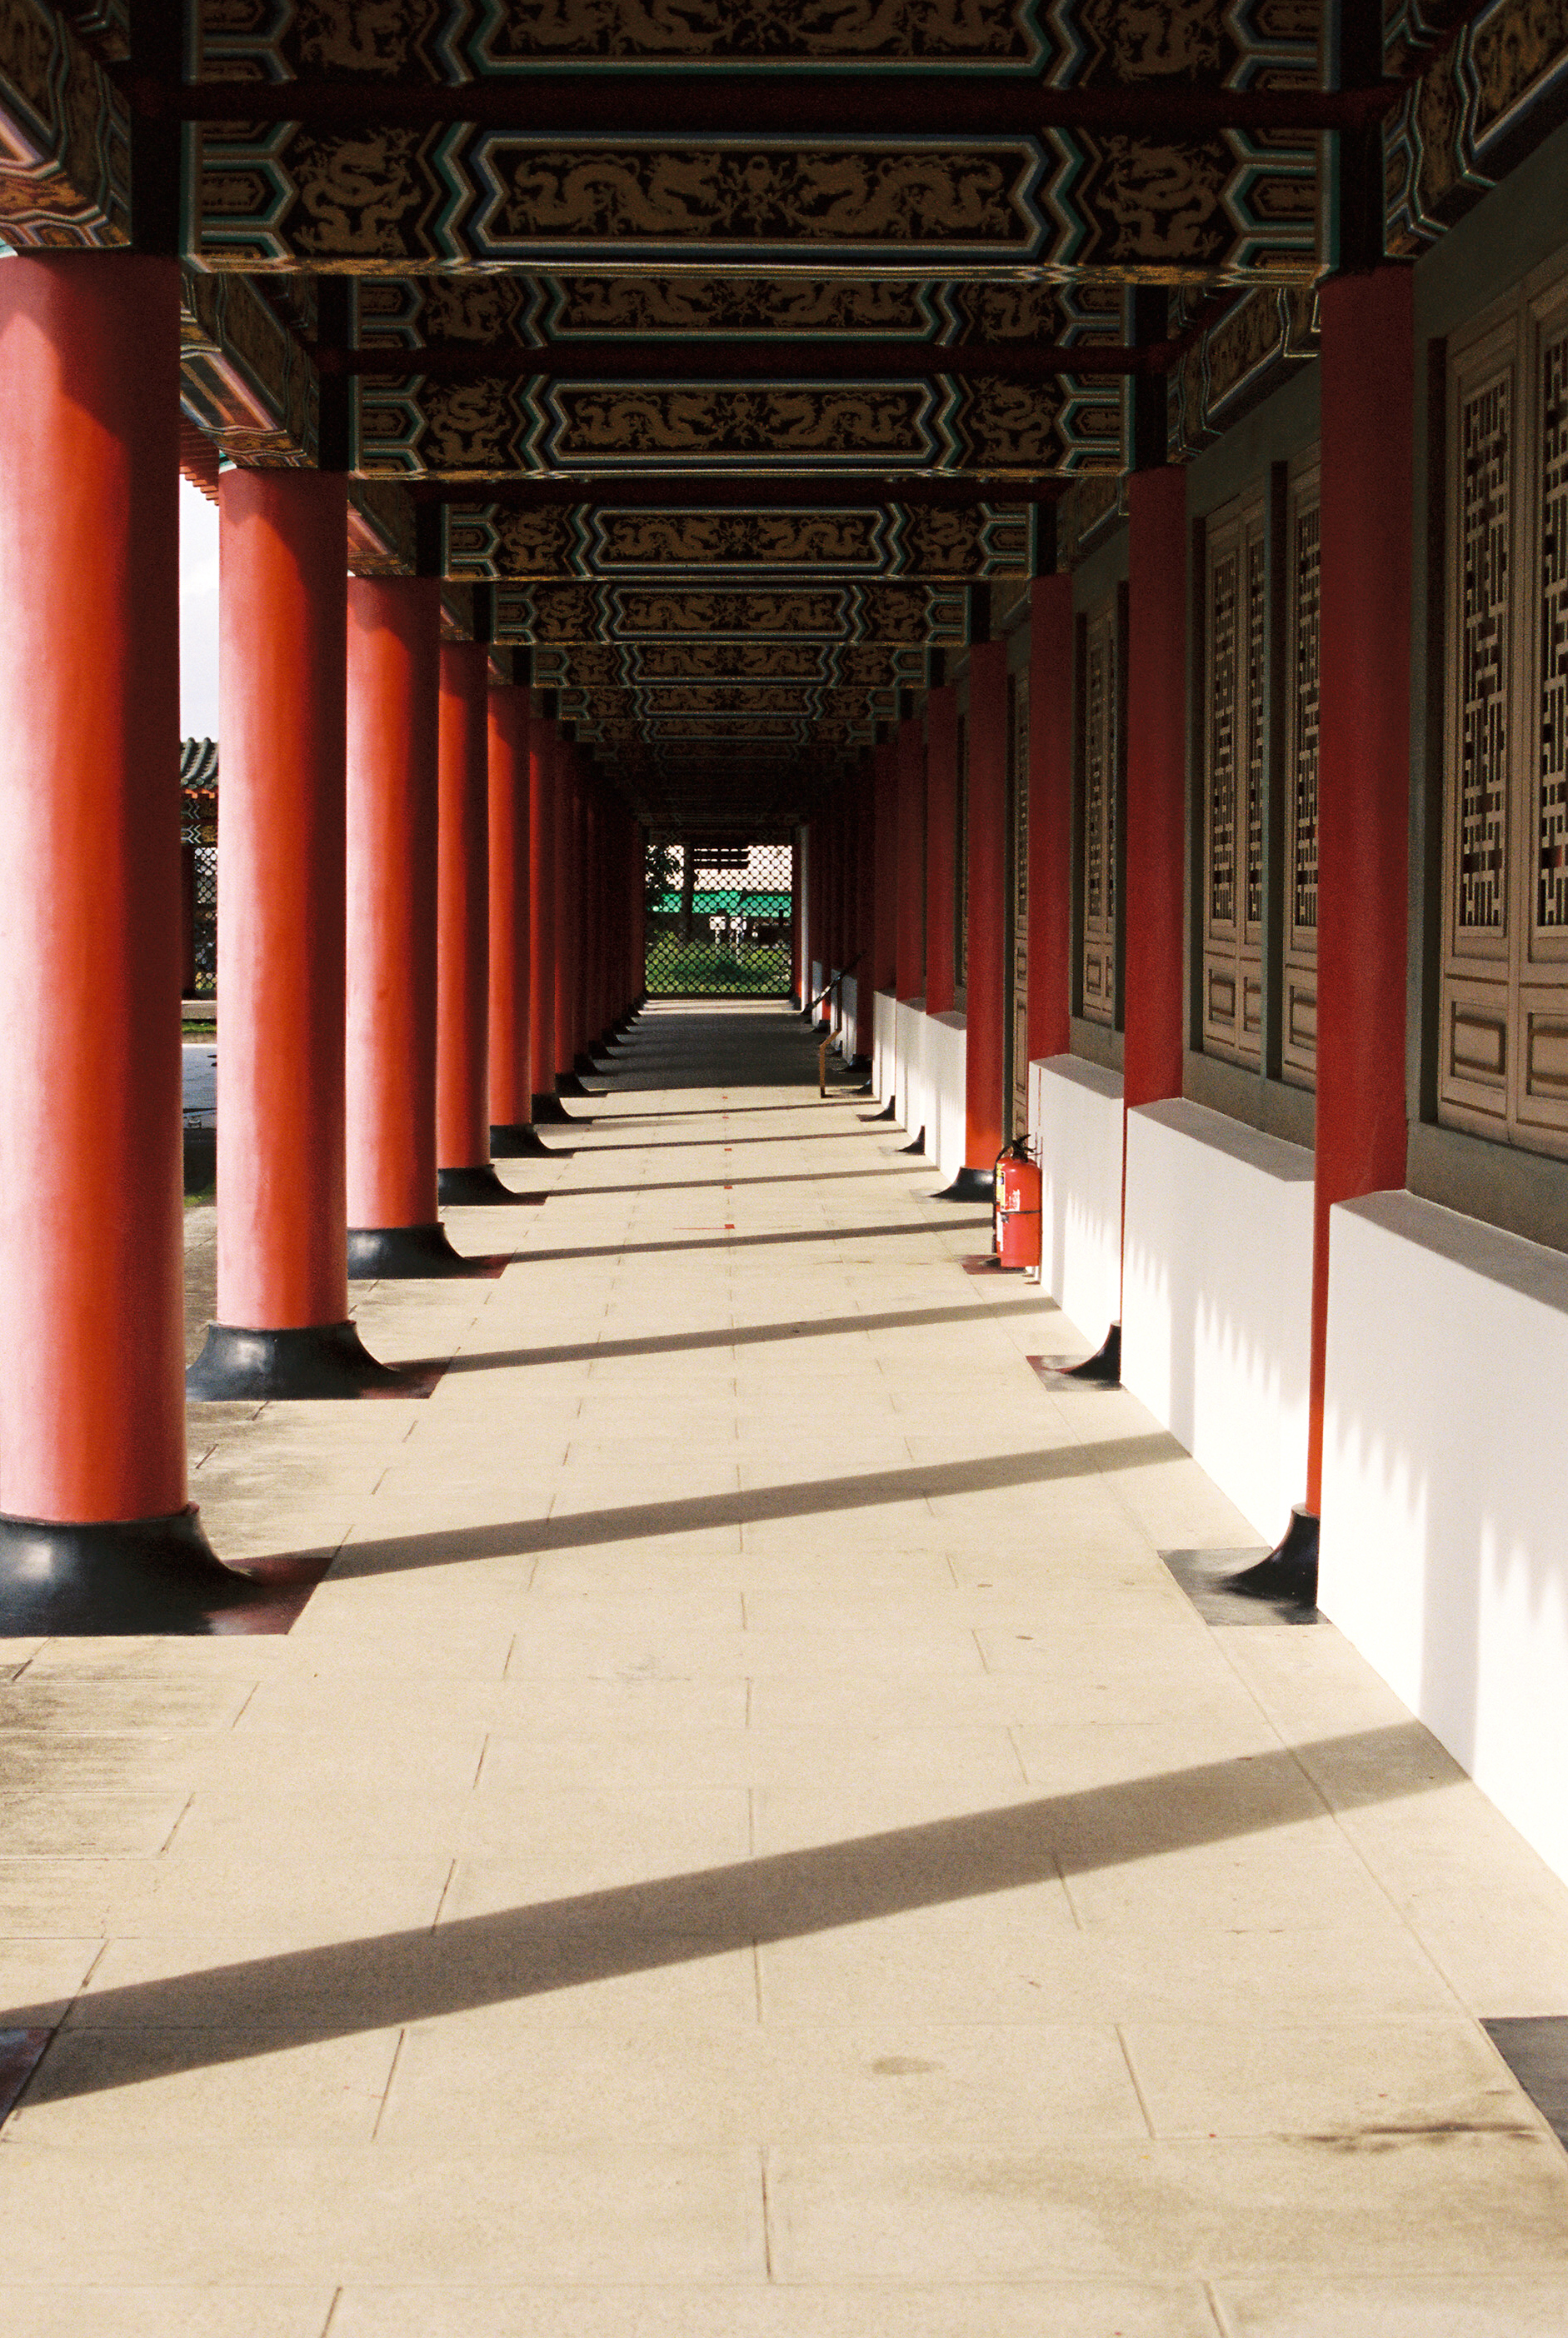
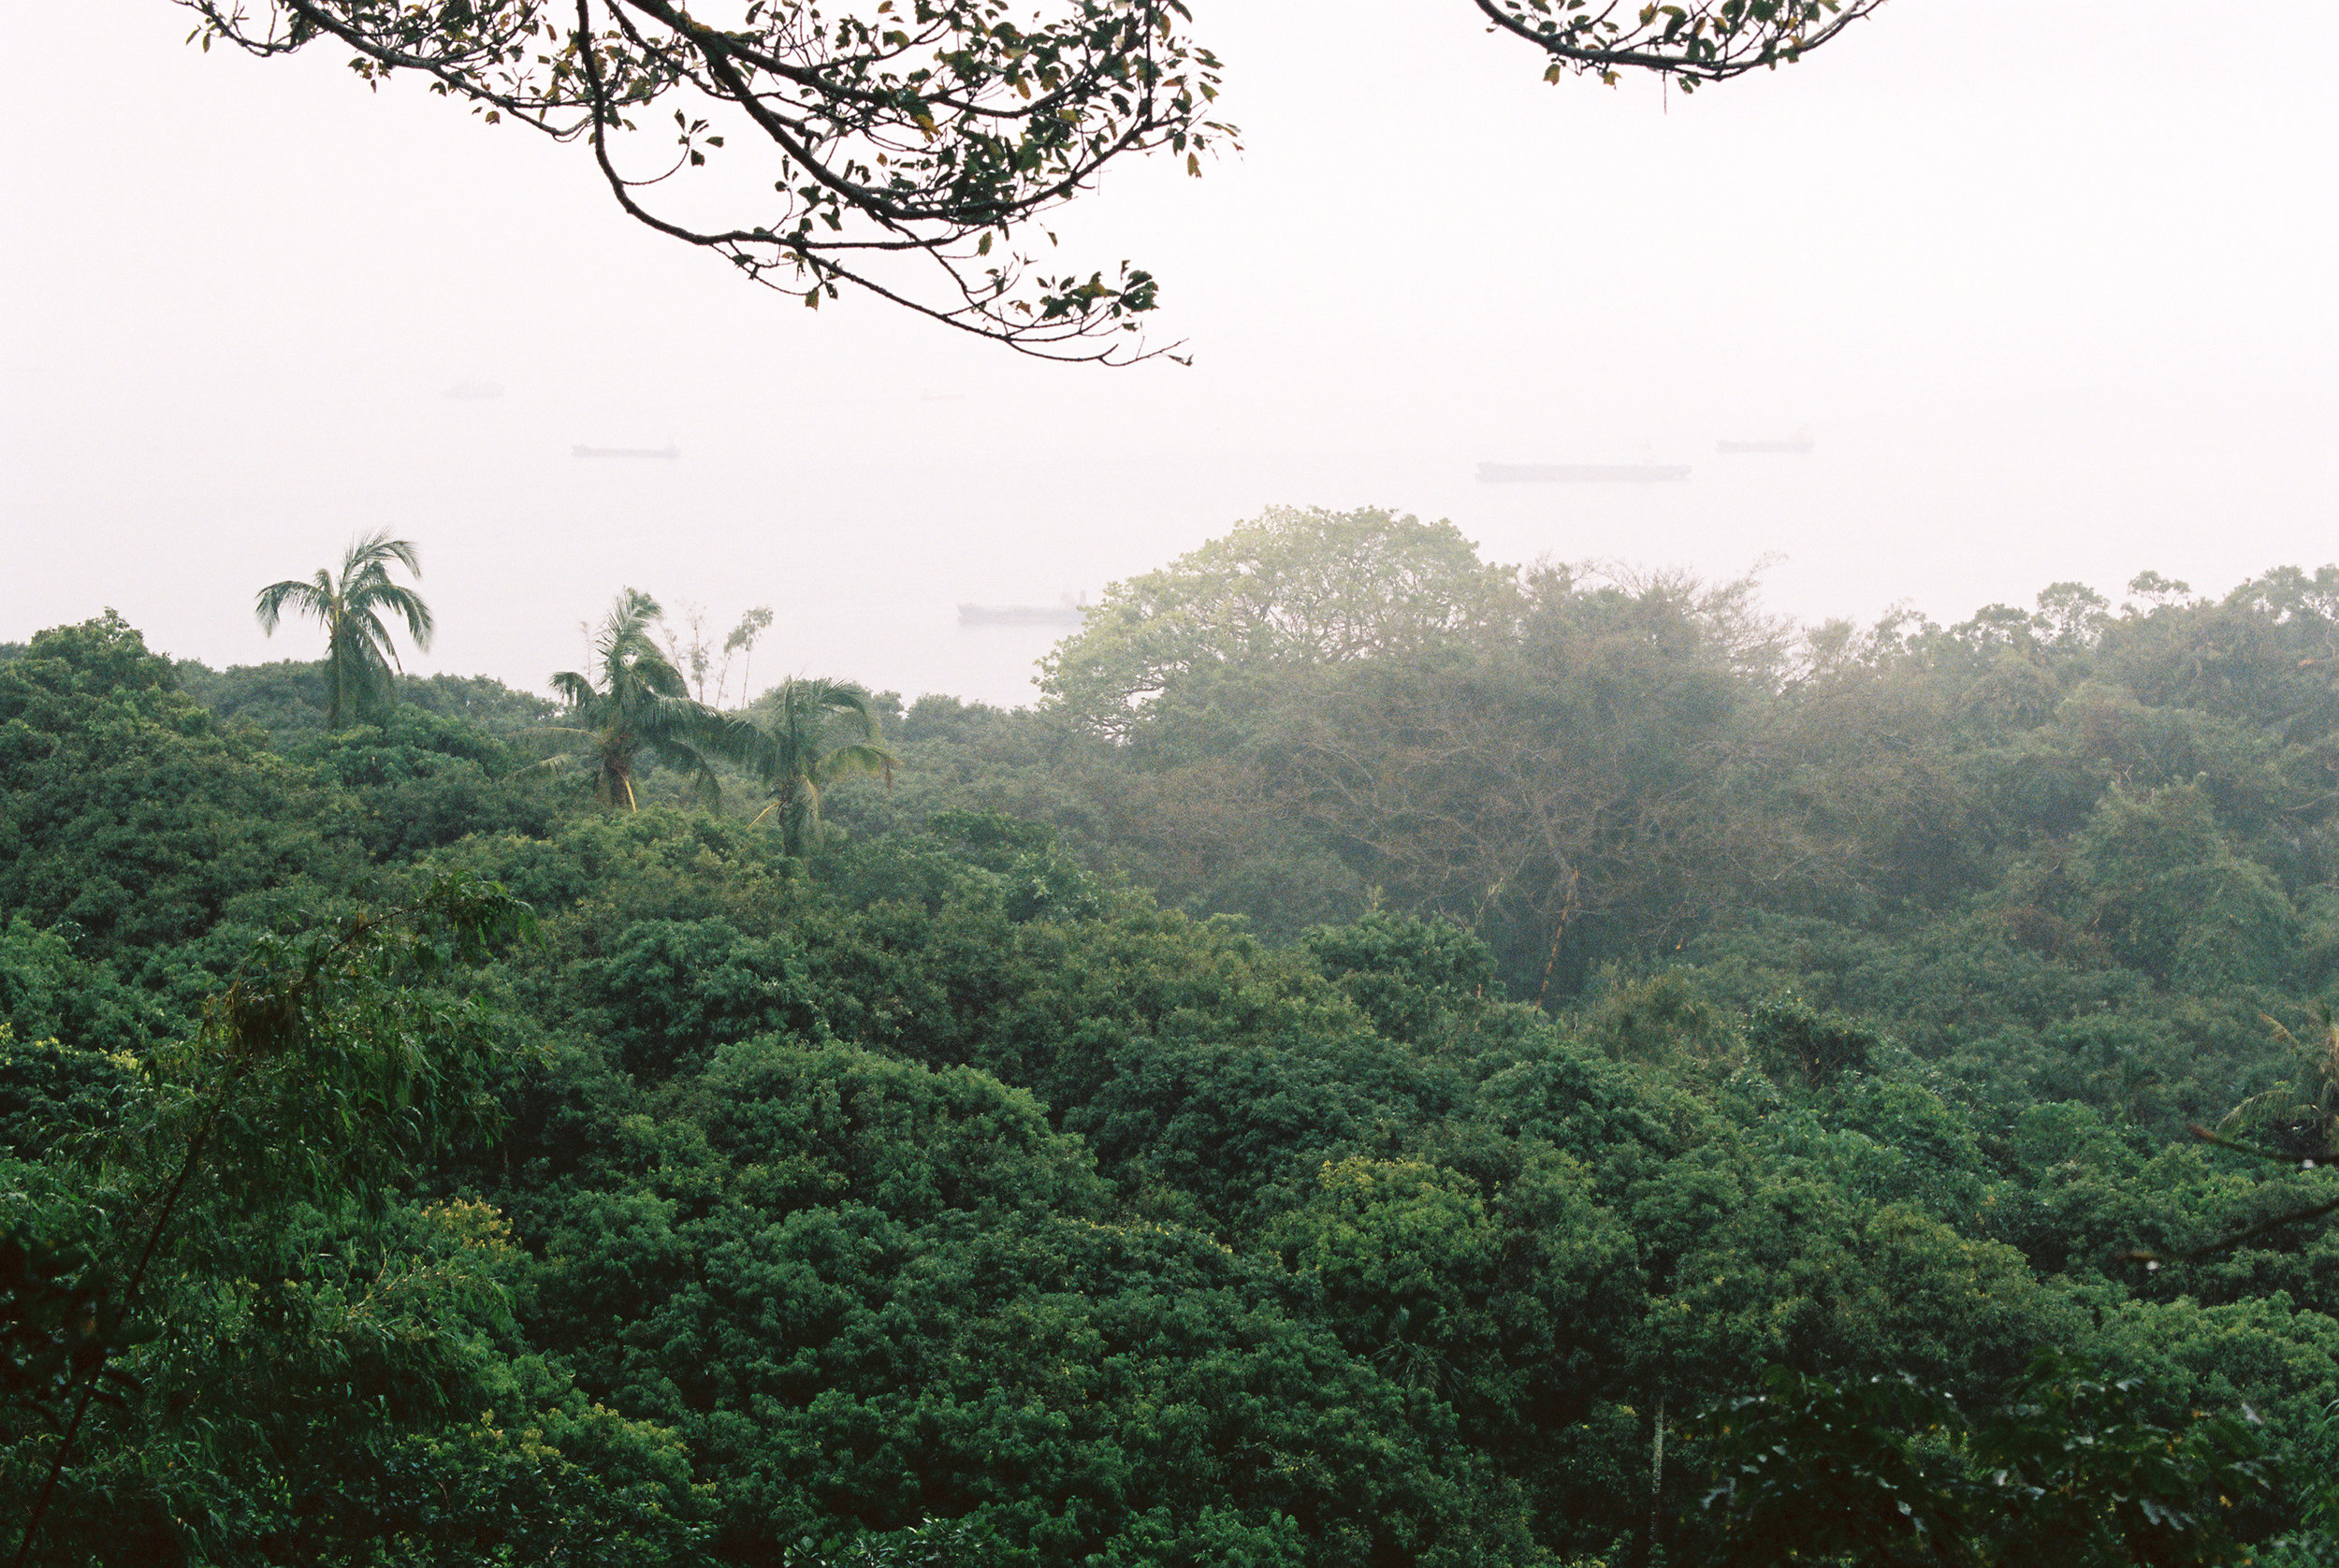
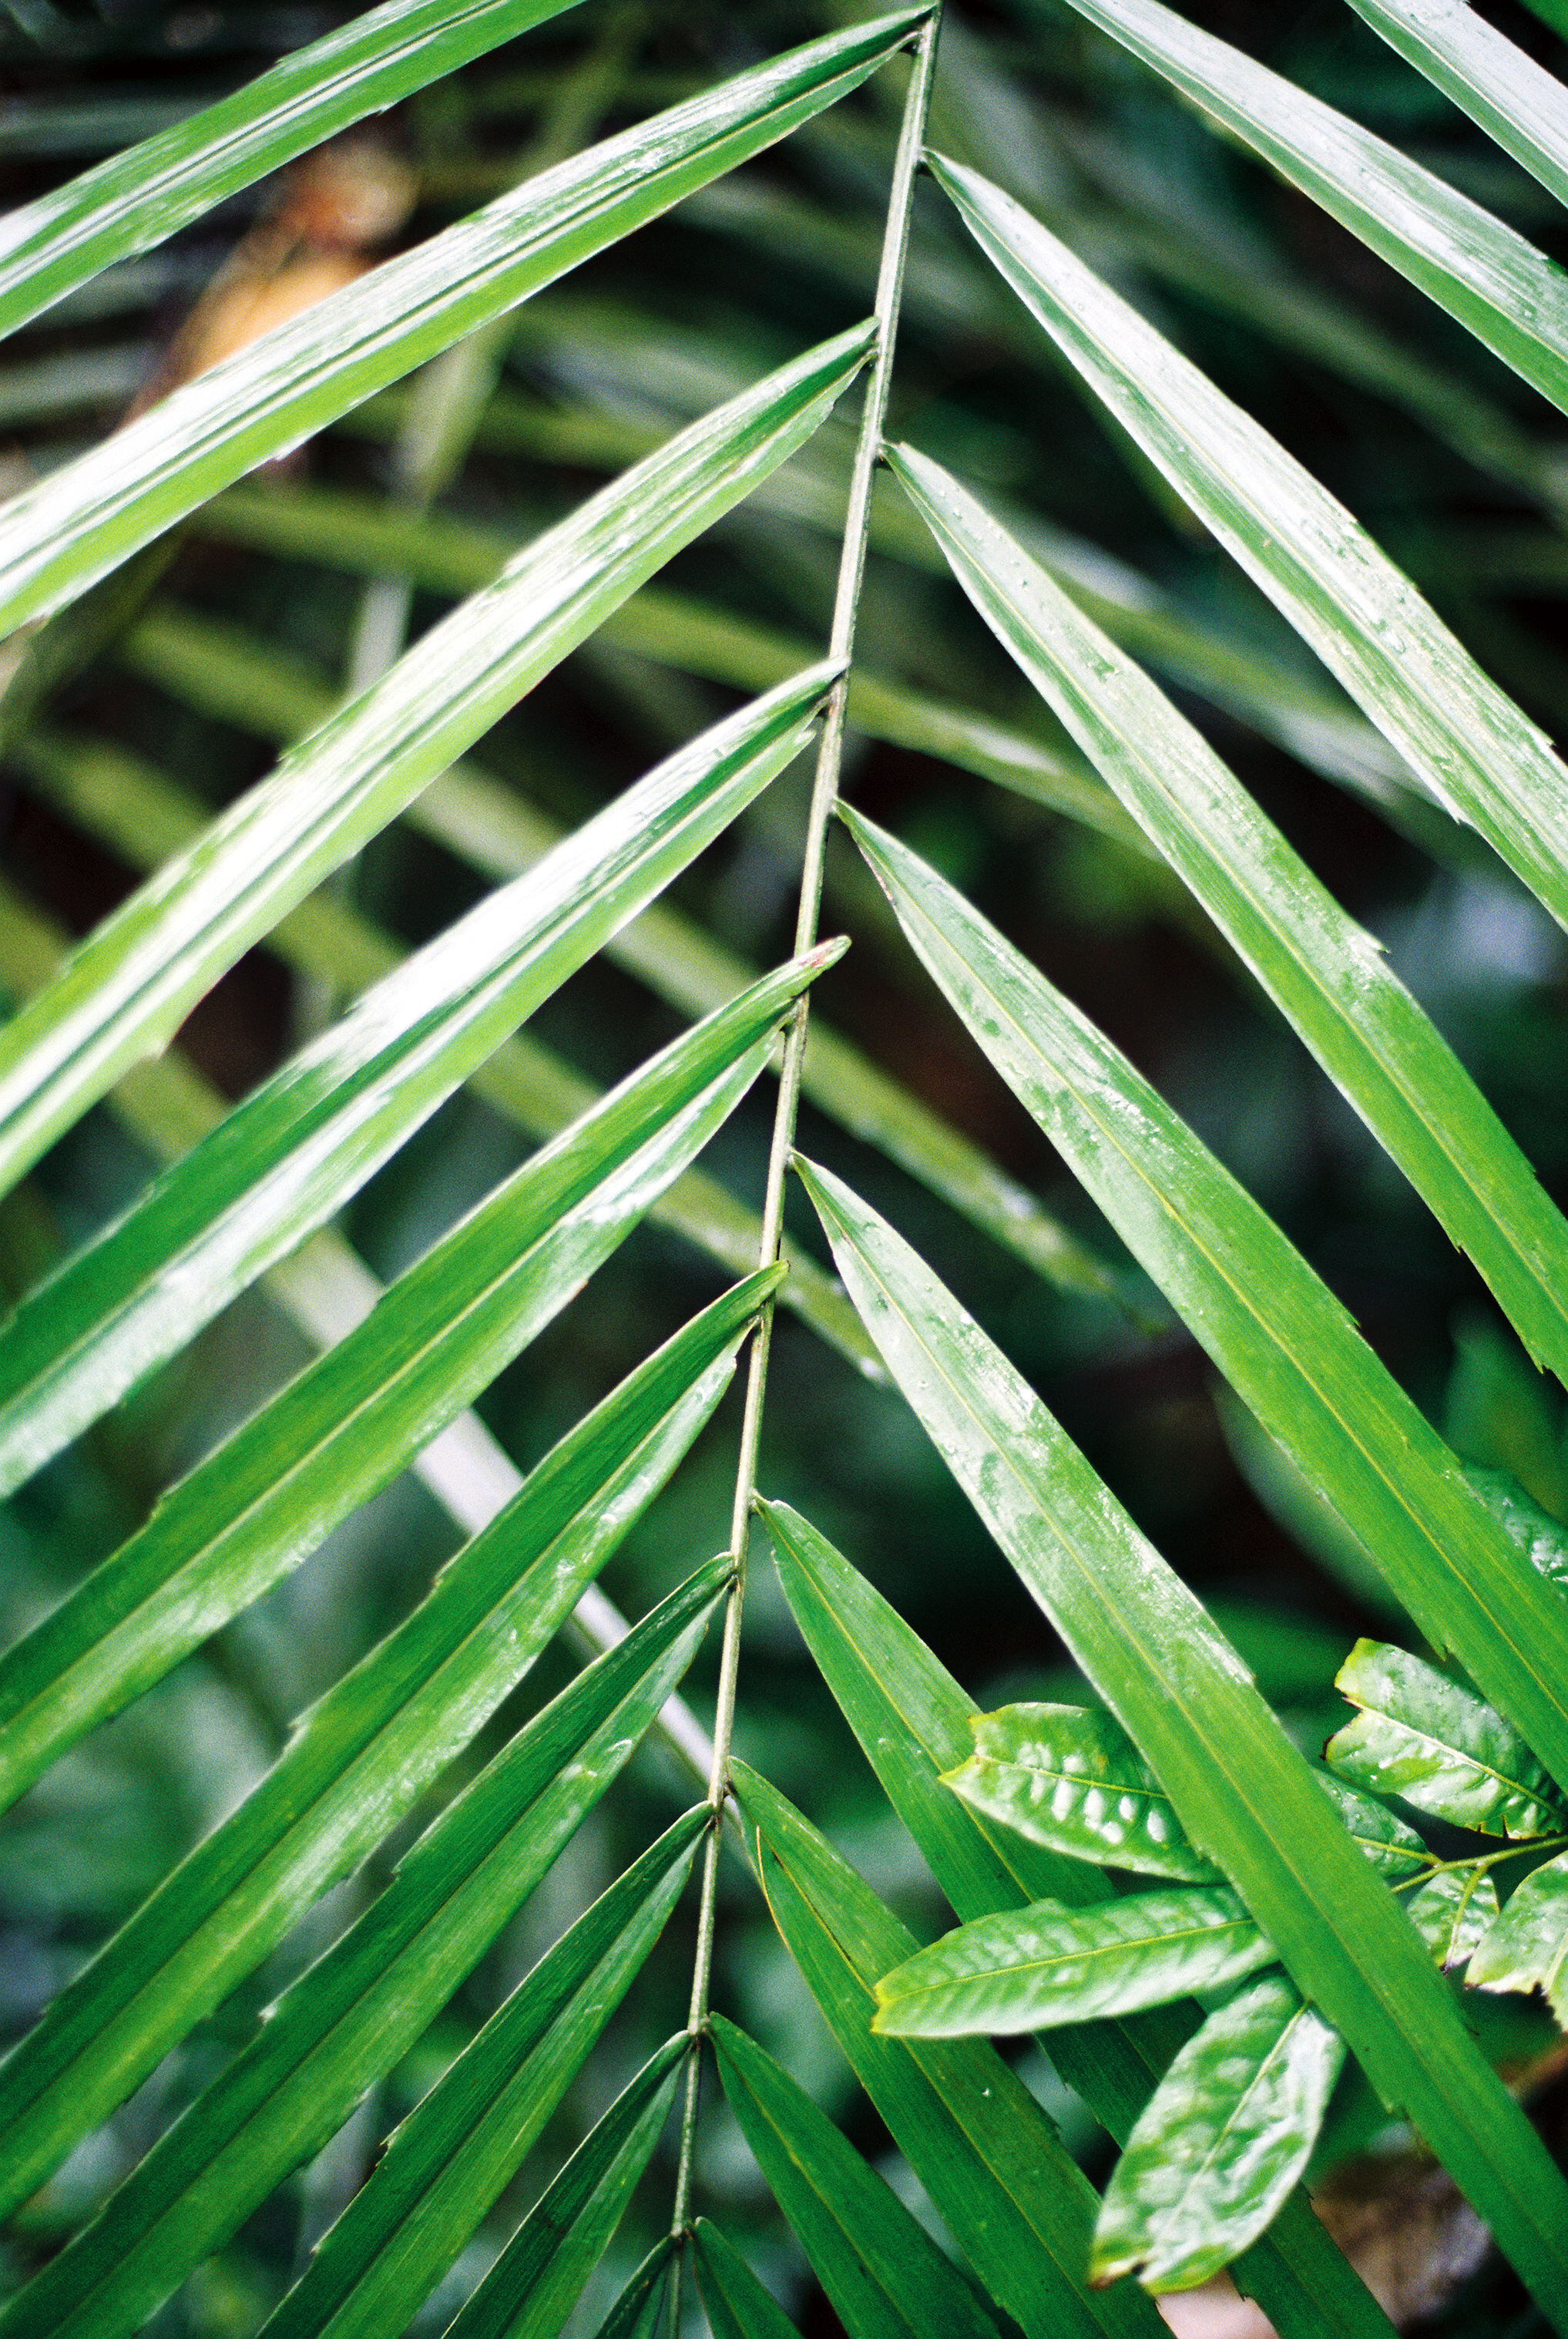
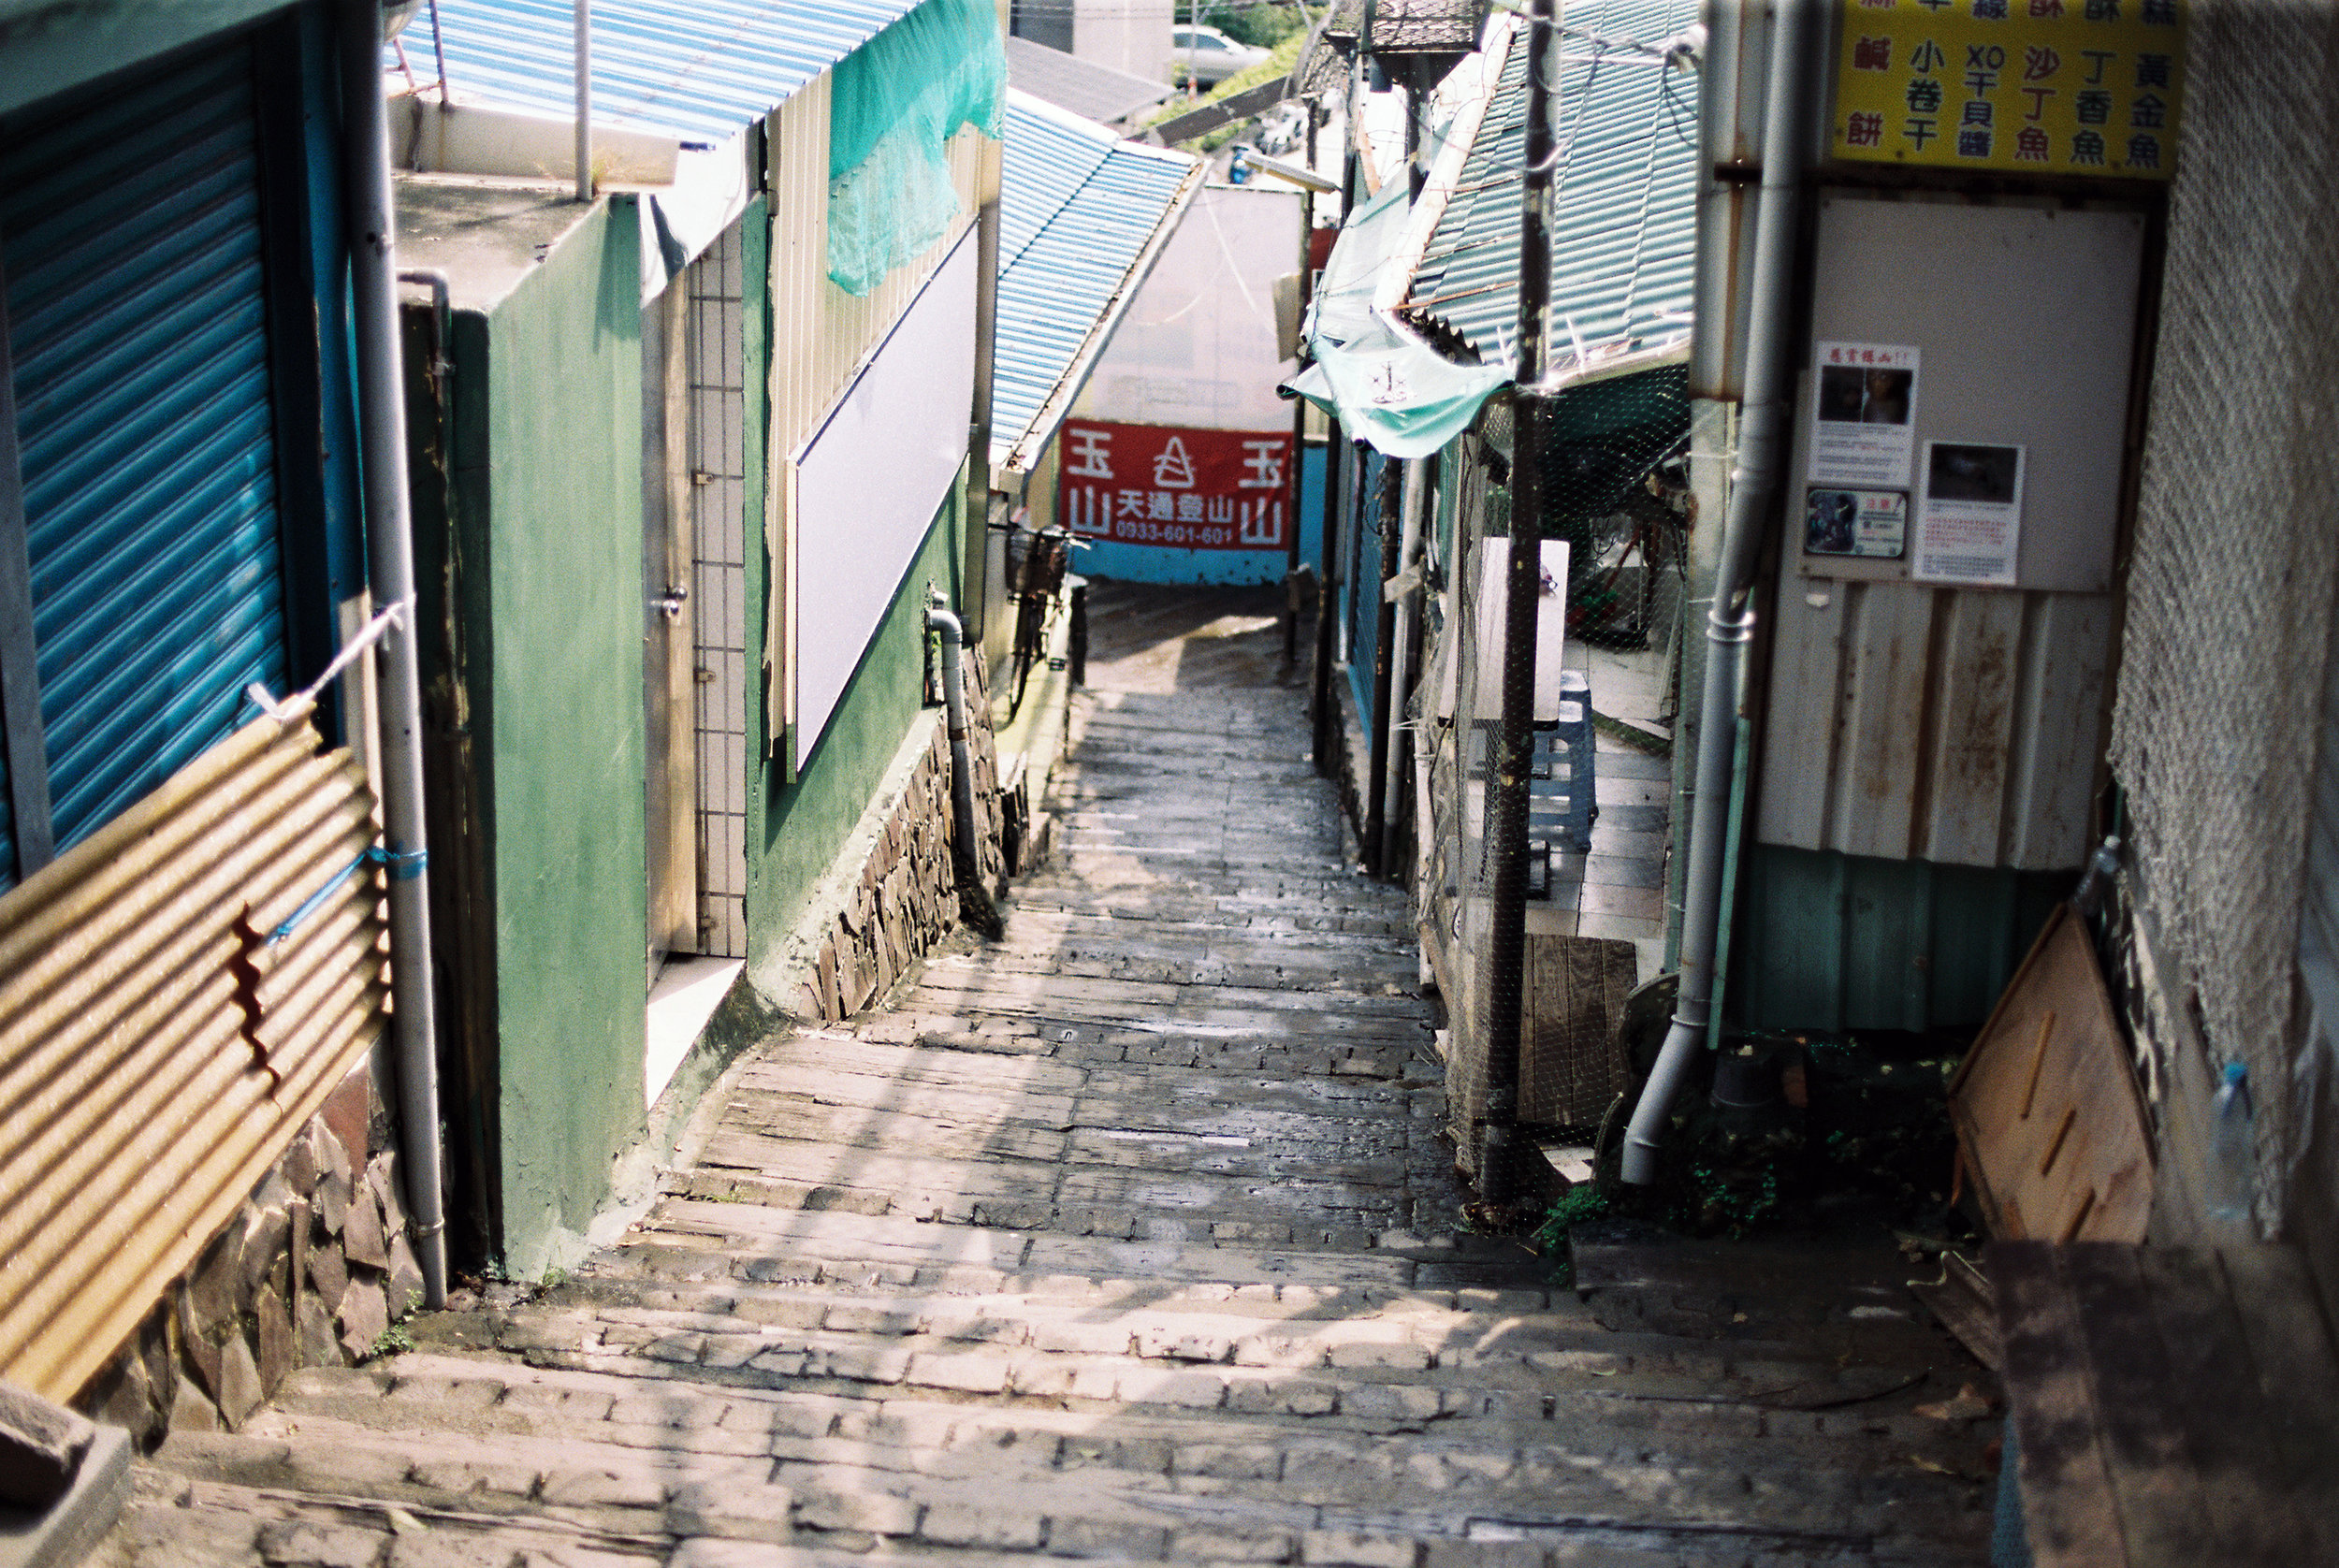
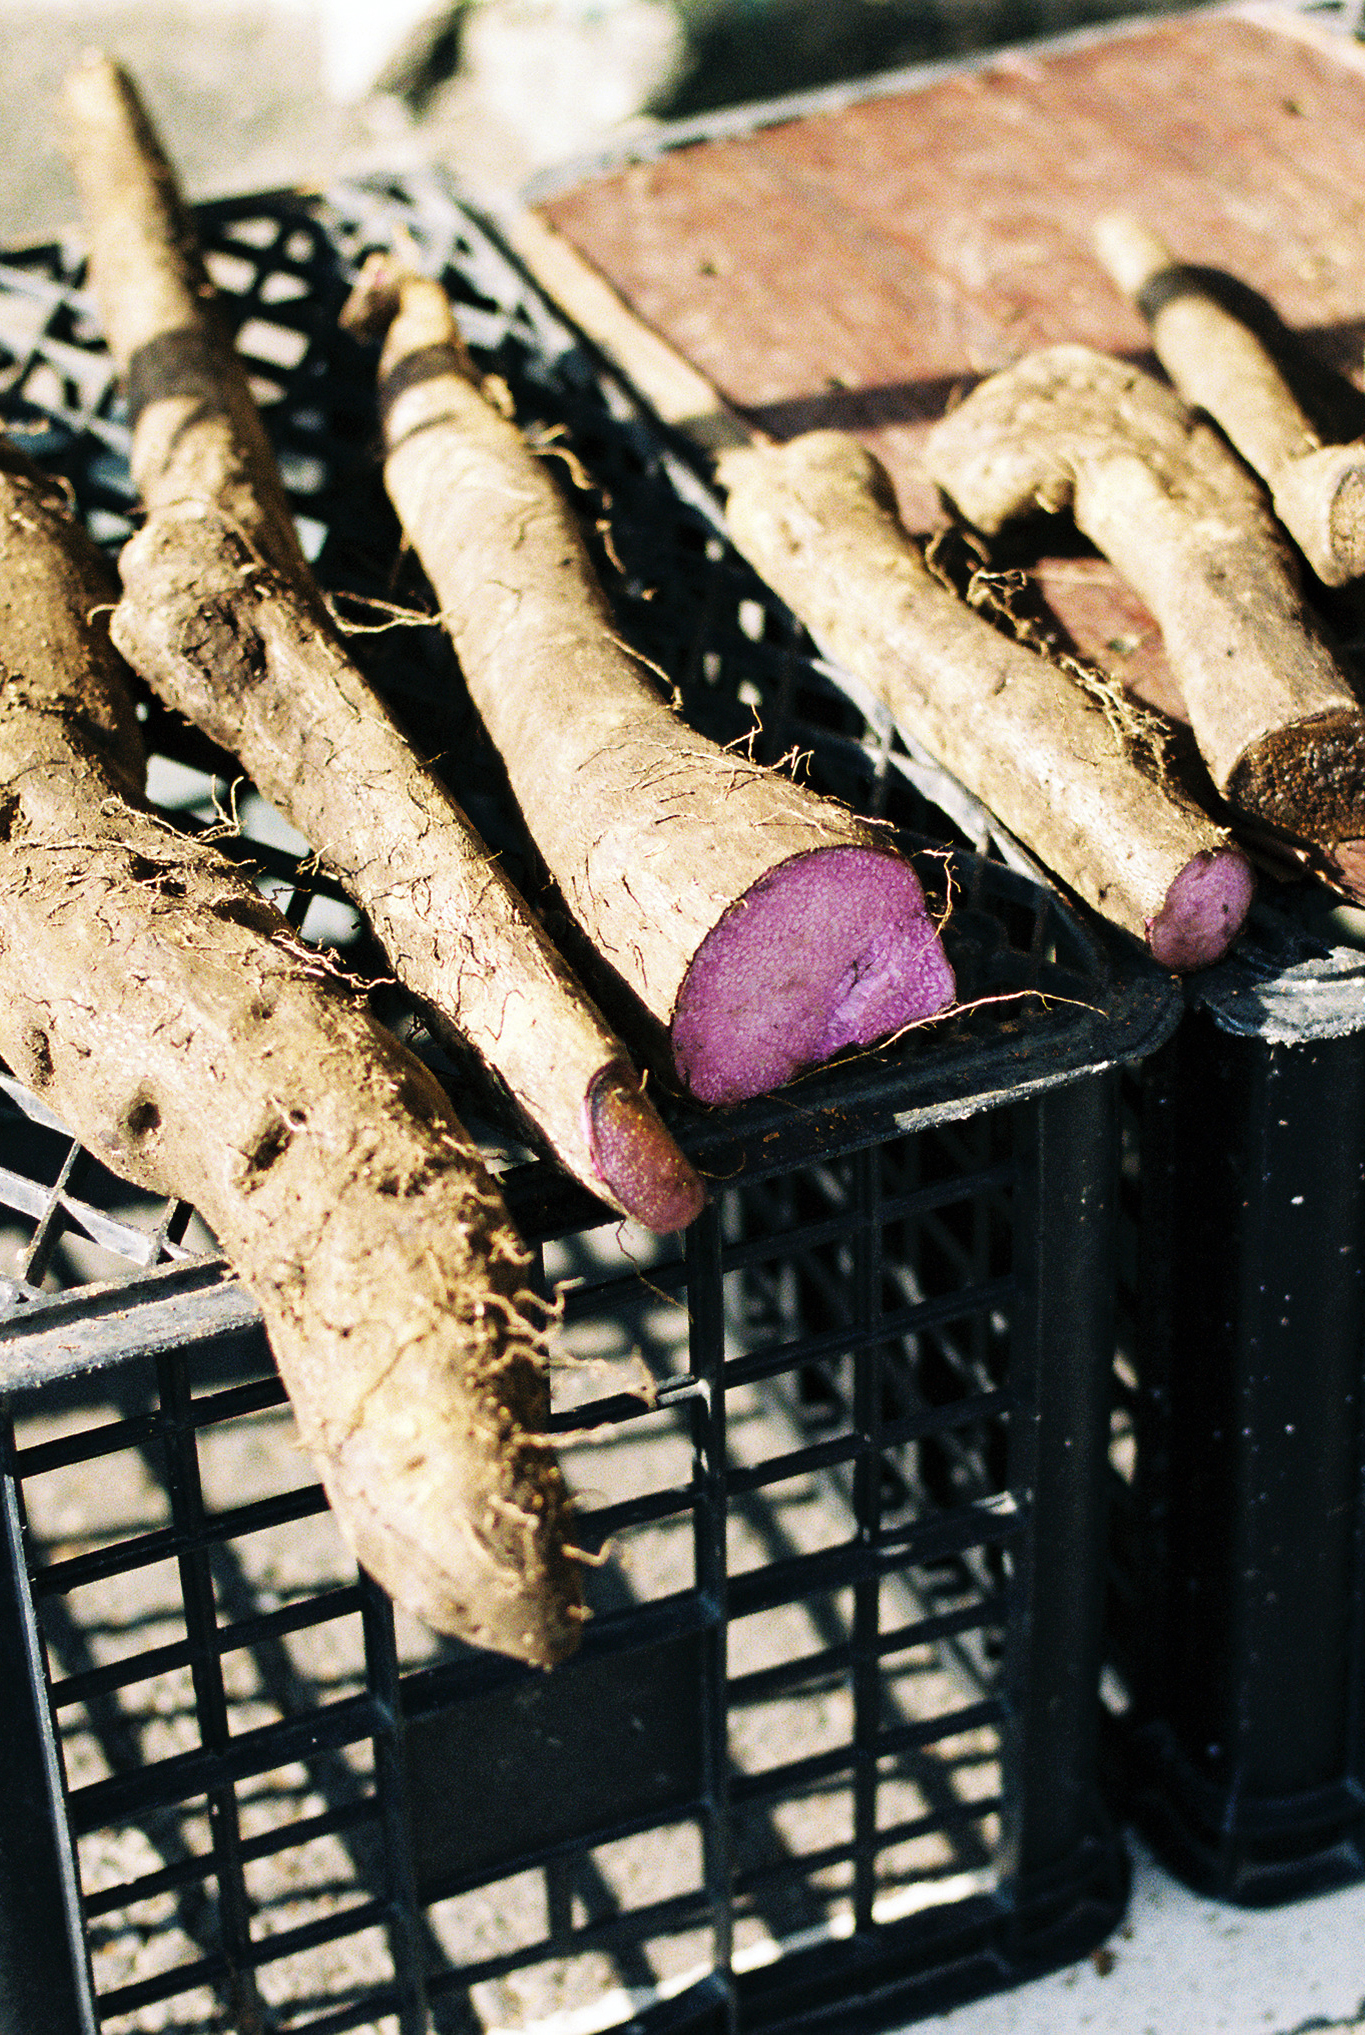
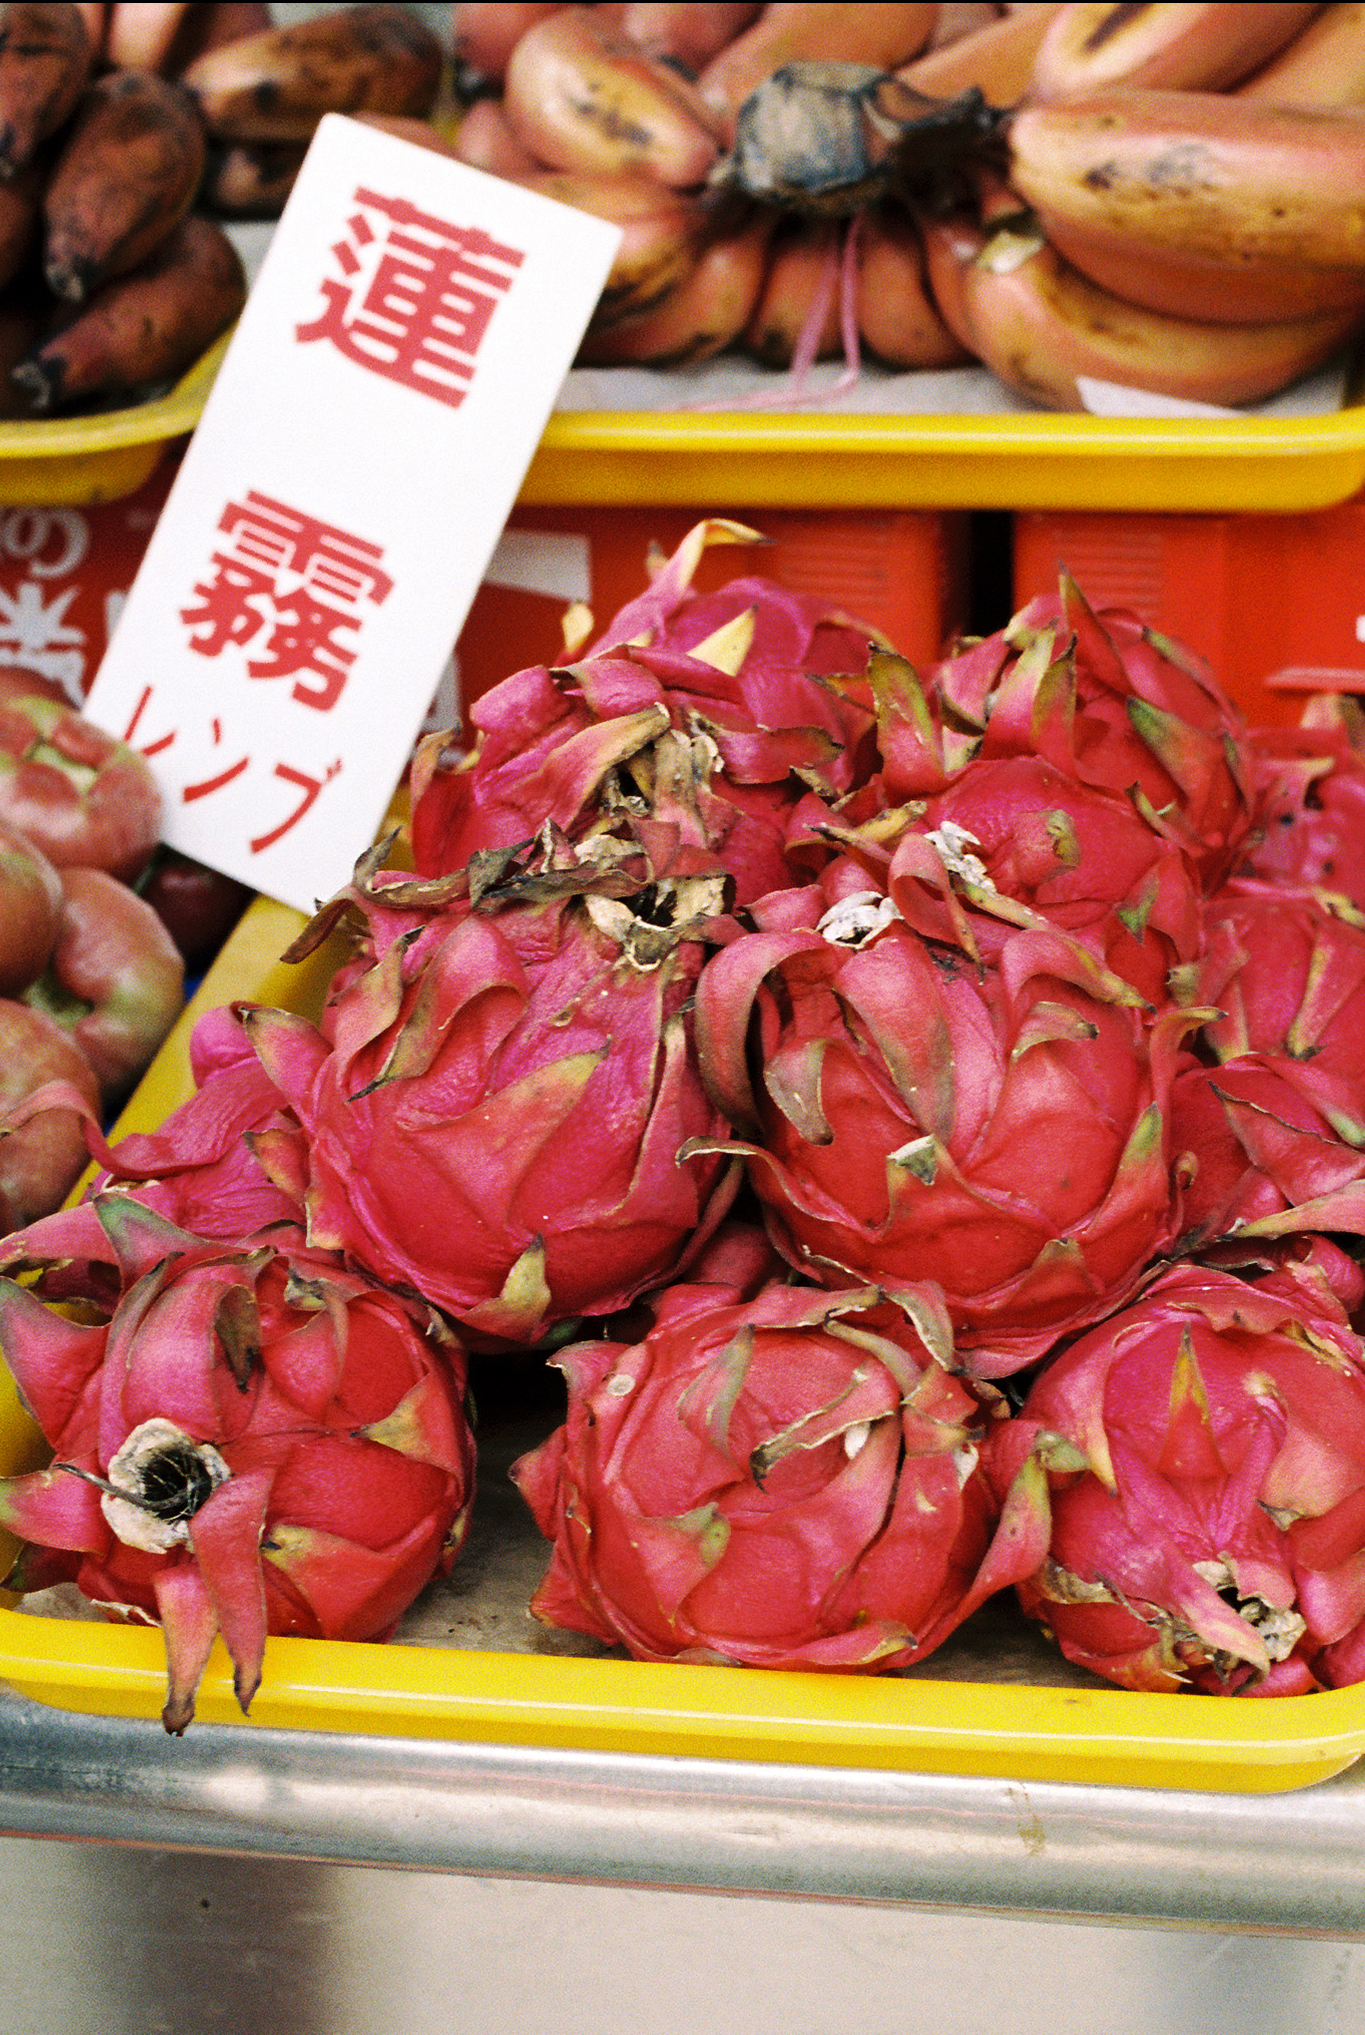
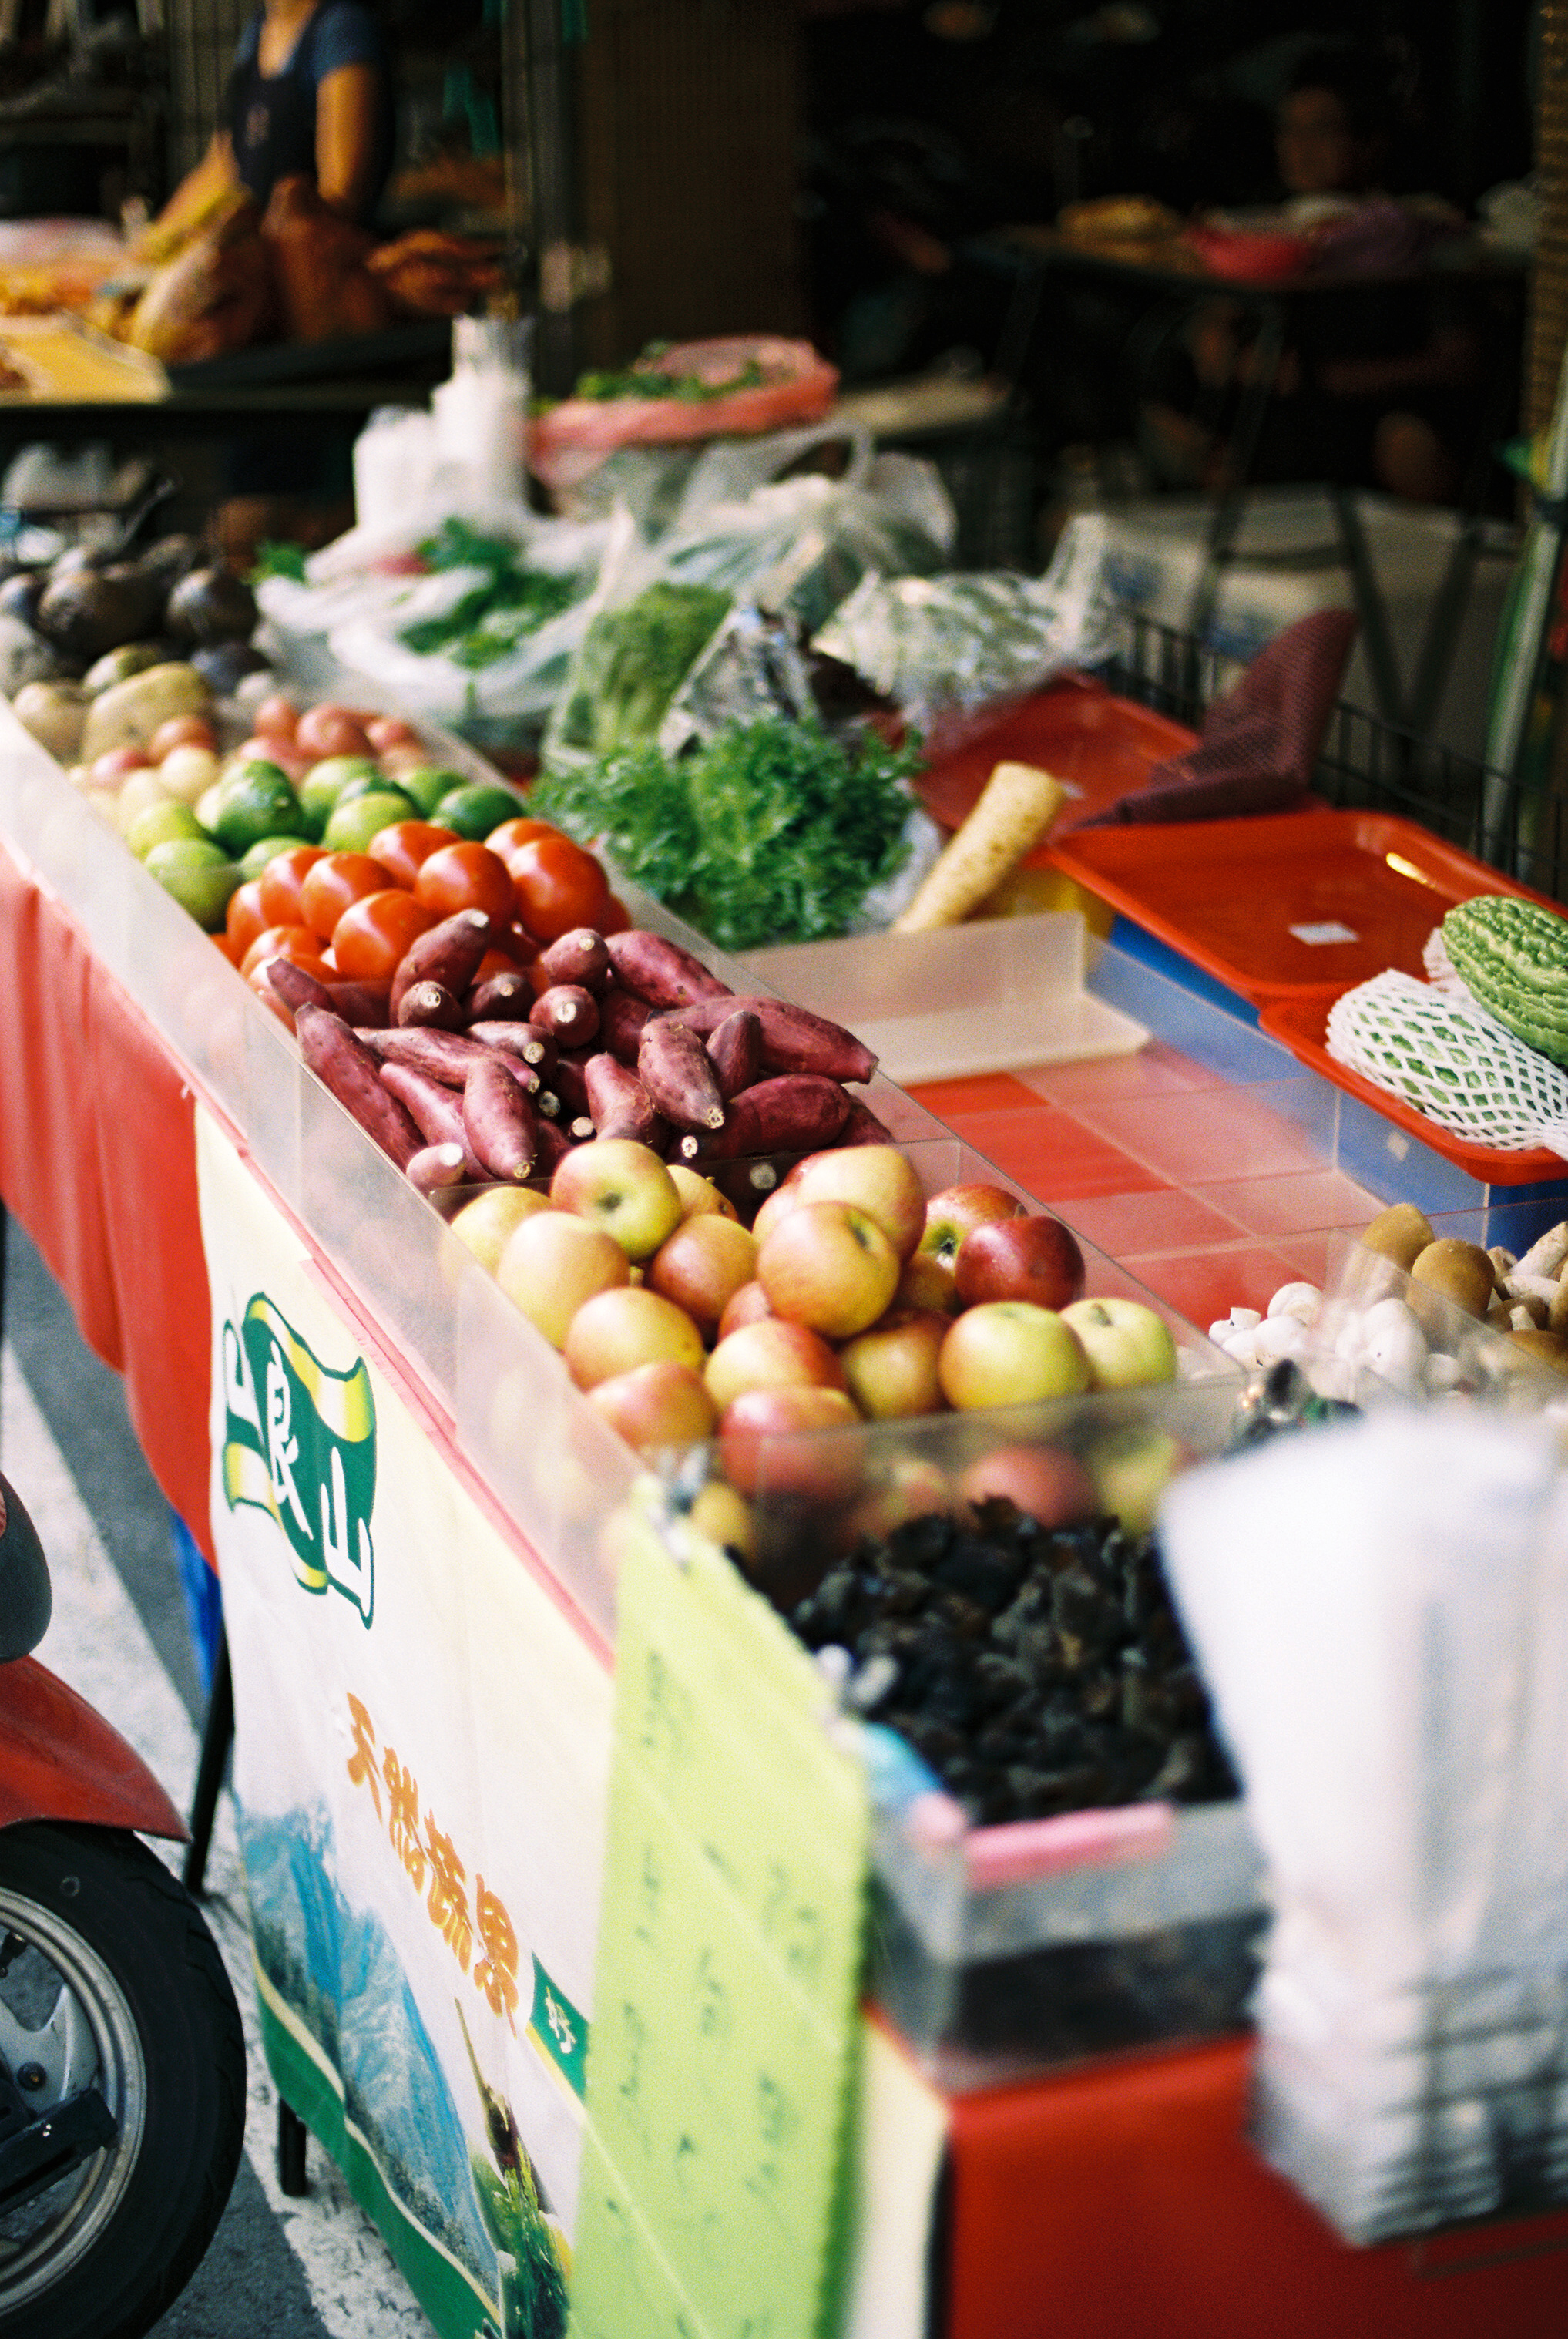
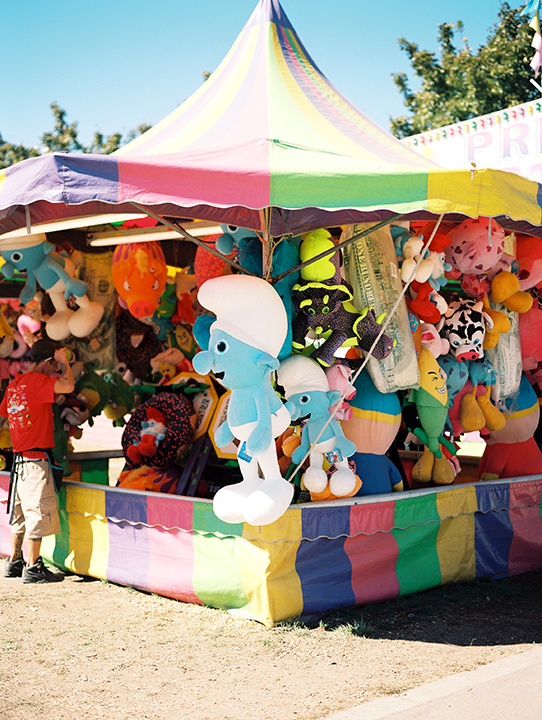
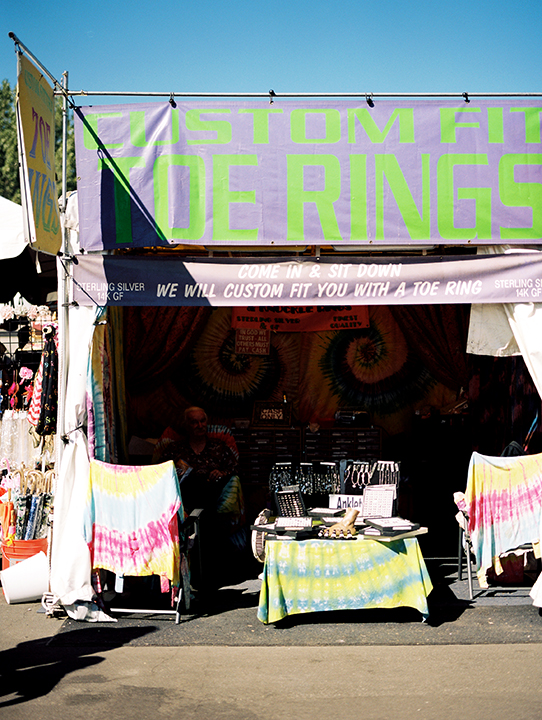
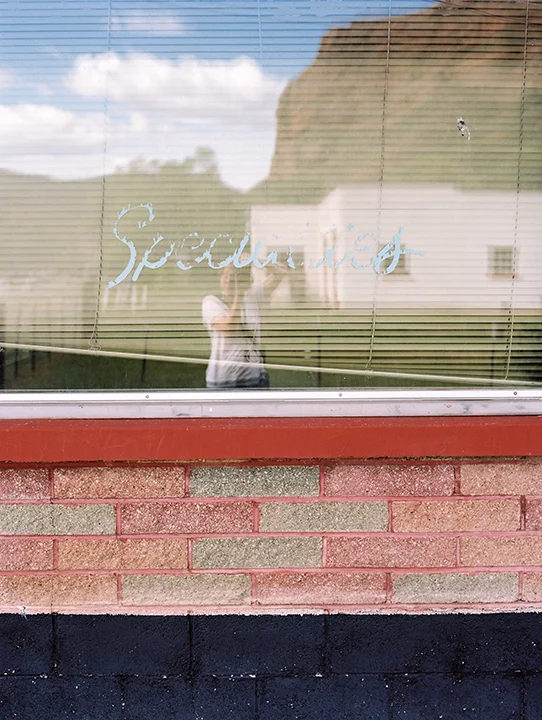
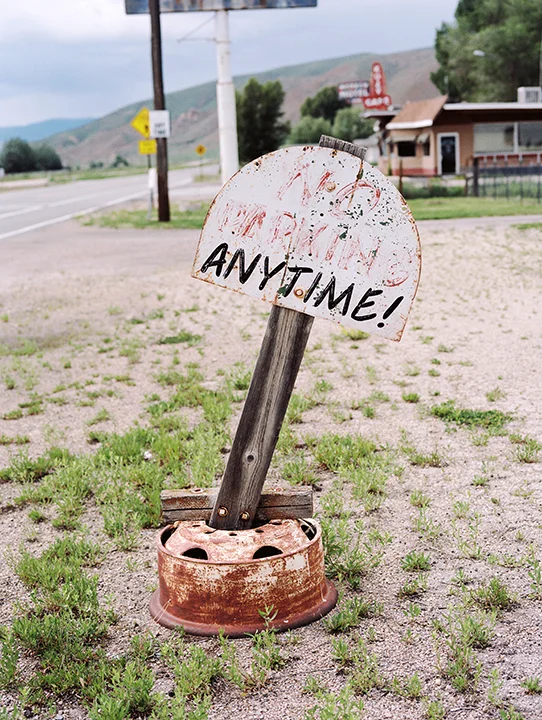
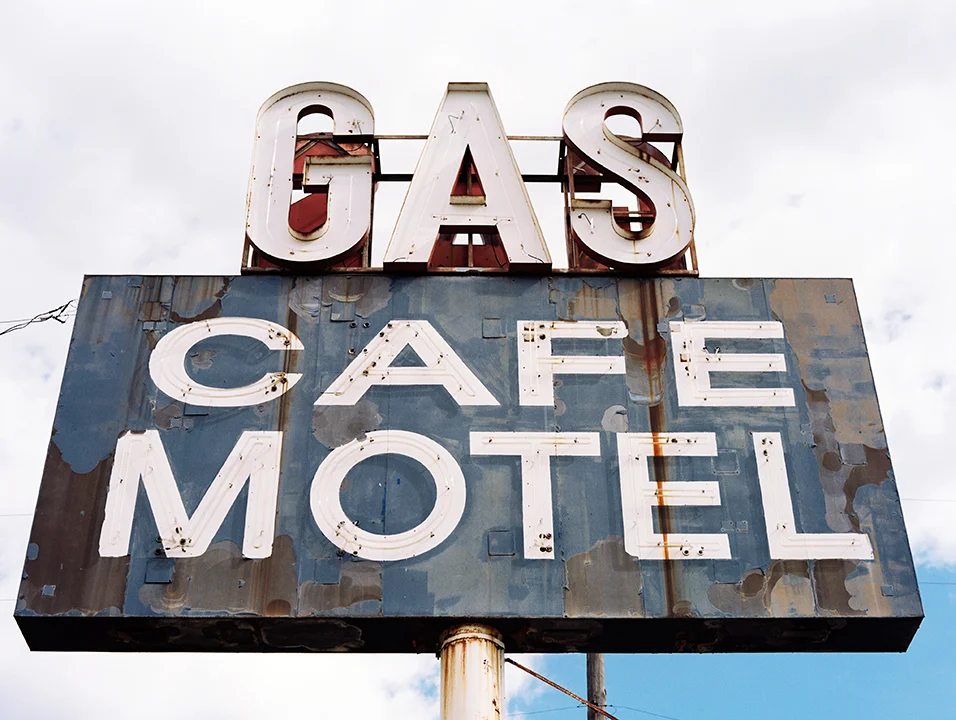
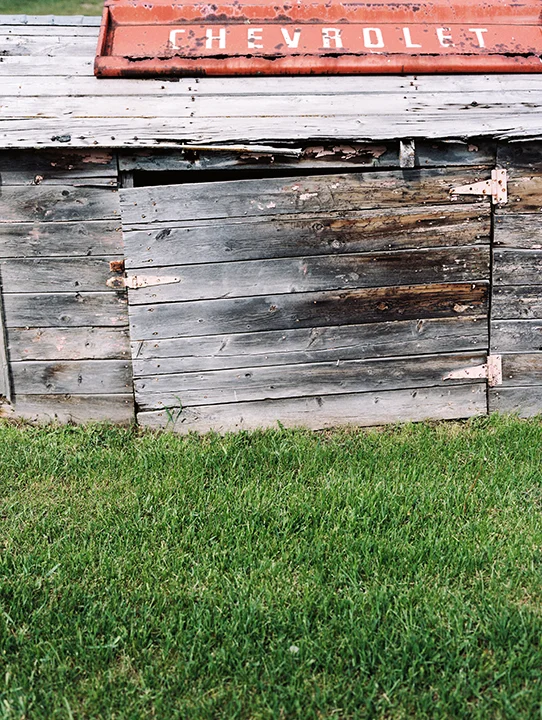
We spent most of our time in Kaohsiung, which is in the southern part of Taiwan. The city has a heavy past in manufacturing and they have sort of reimagined parts of the city so there are some great old parts of town that have been revitalized. The humidity is insane and the food is divine. Can you say dumplings? We spent our days trying to see everything we possibly could. I spent nearly the entire trip lollygagging behind the group photographing almost anything and everything I saw.

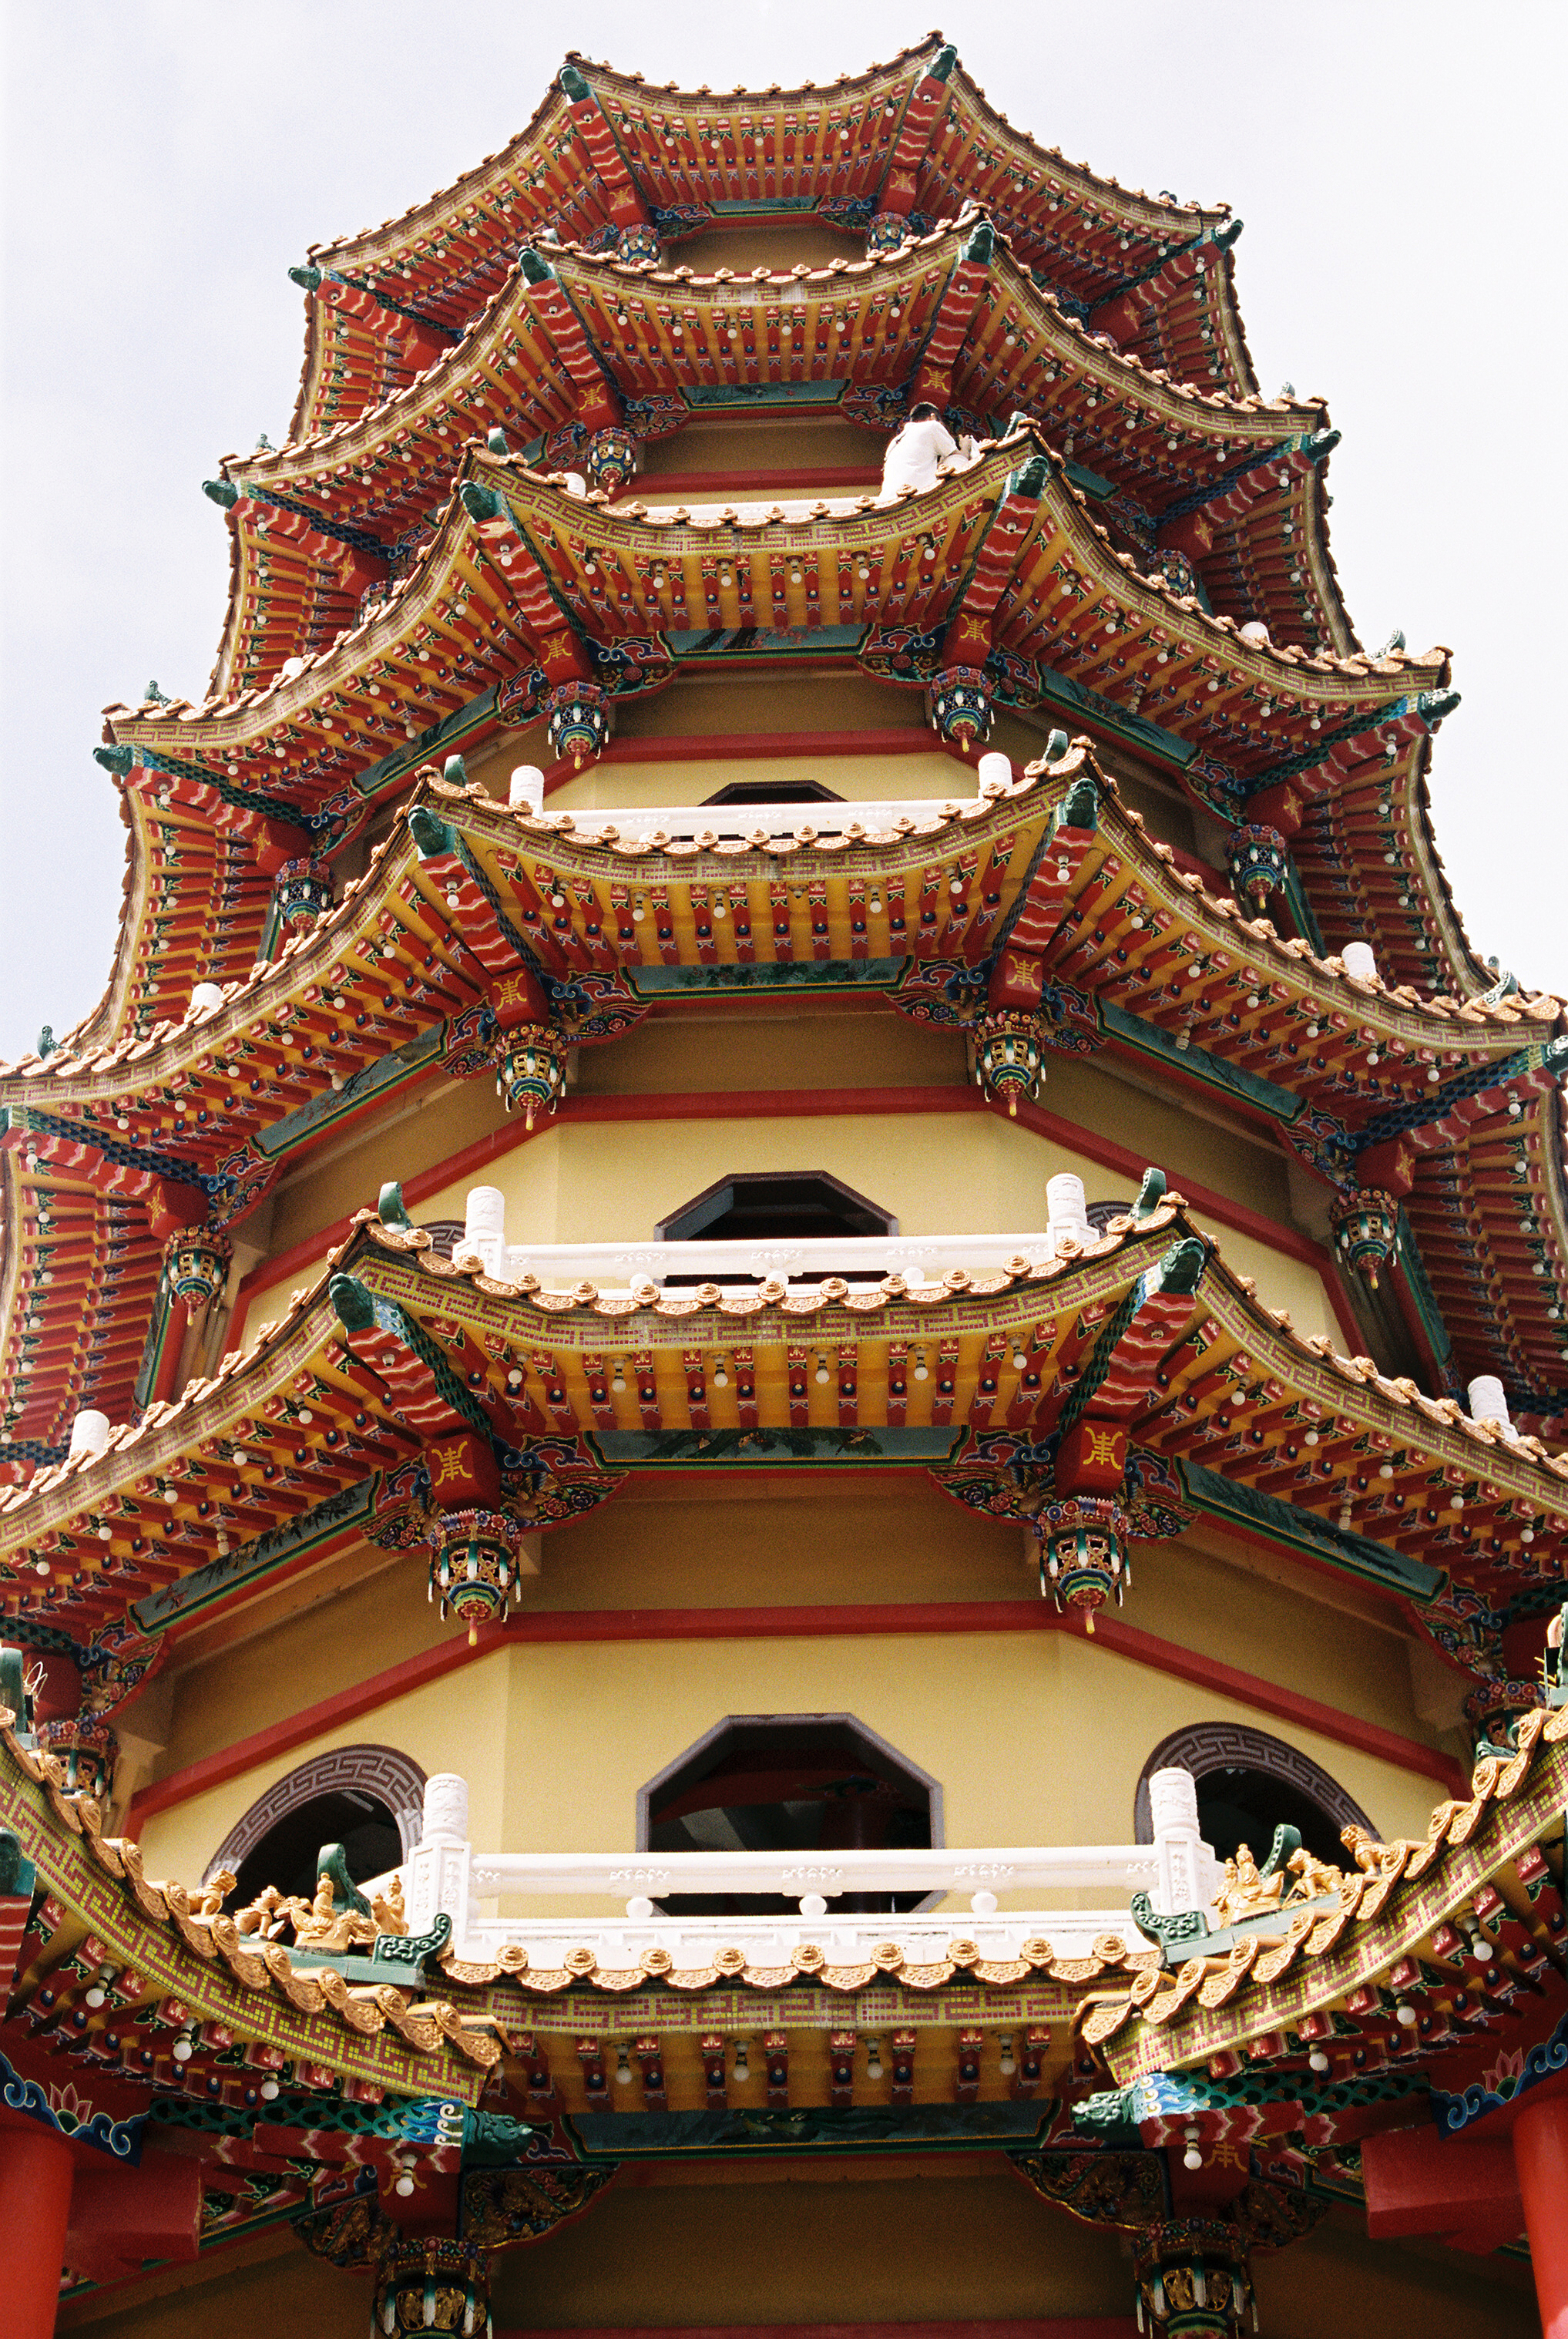
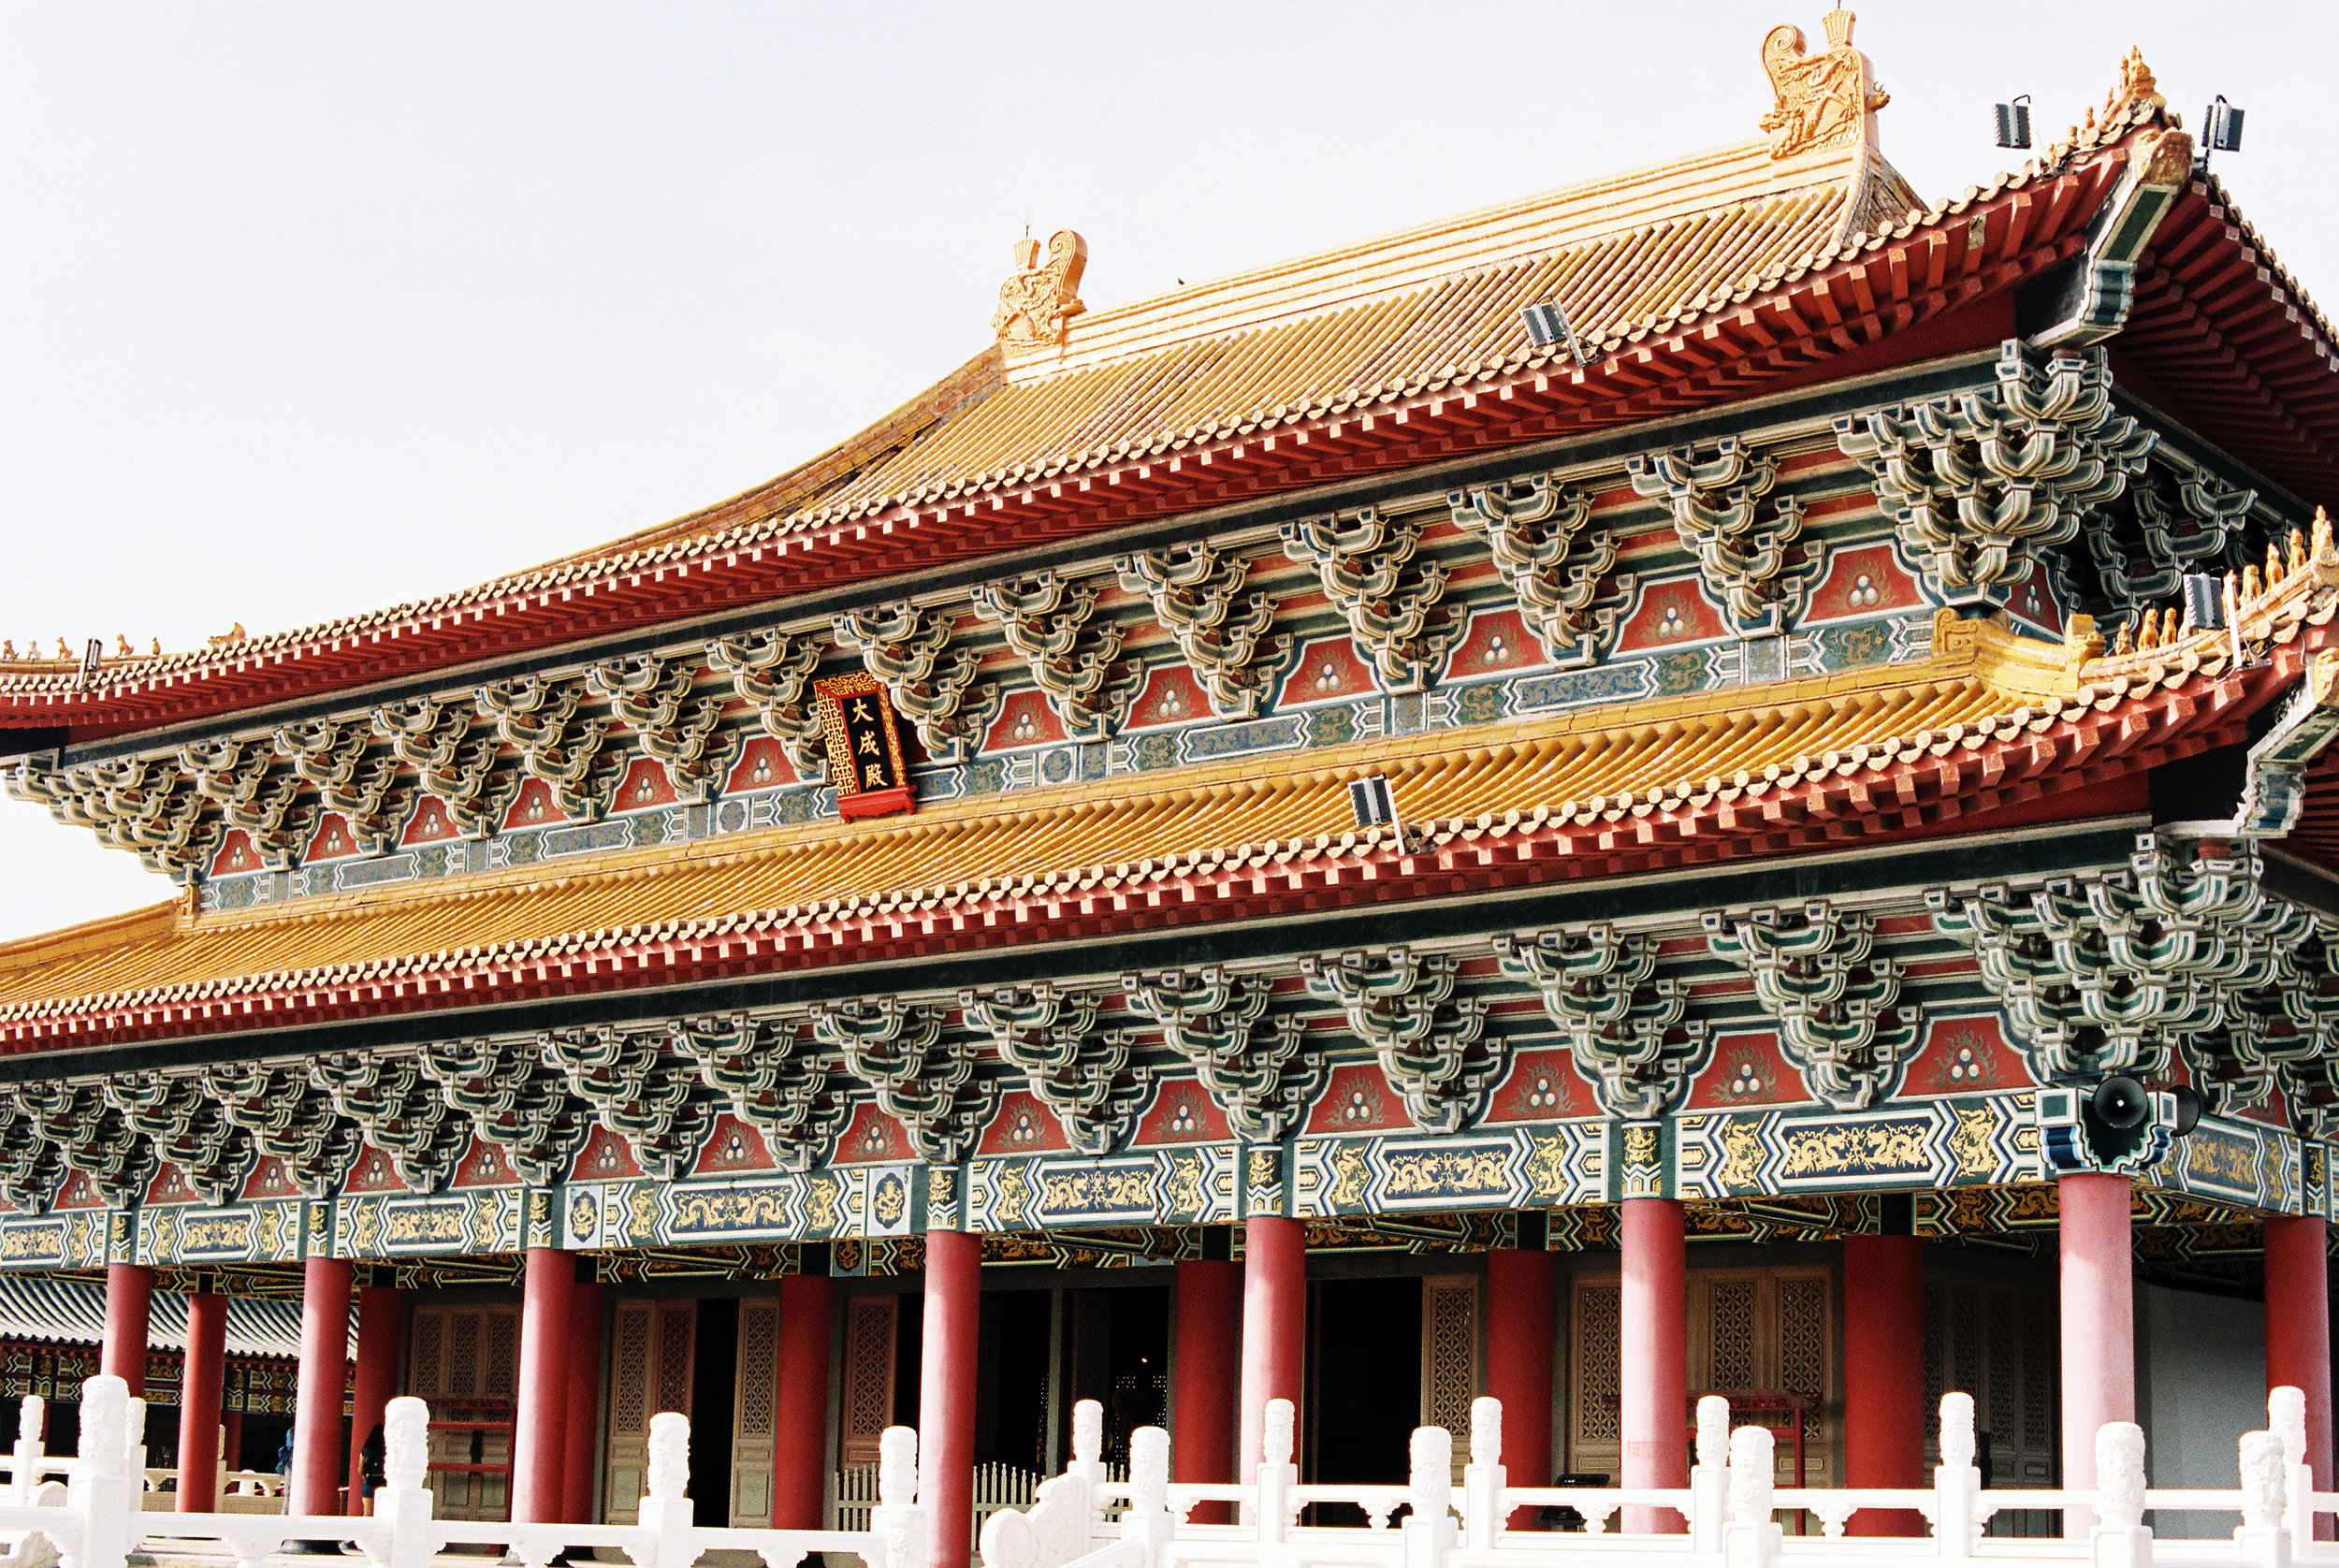
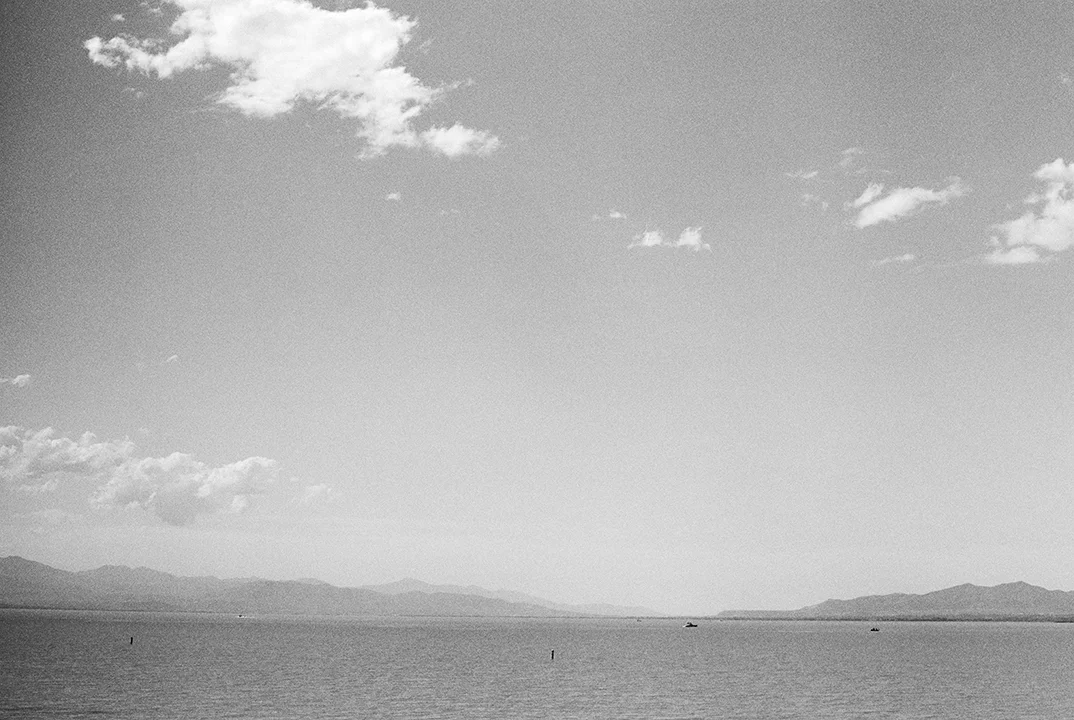
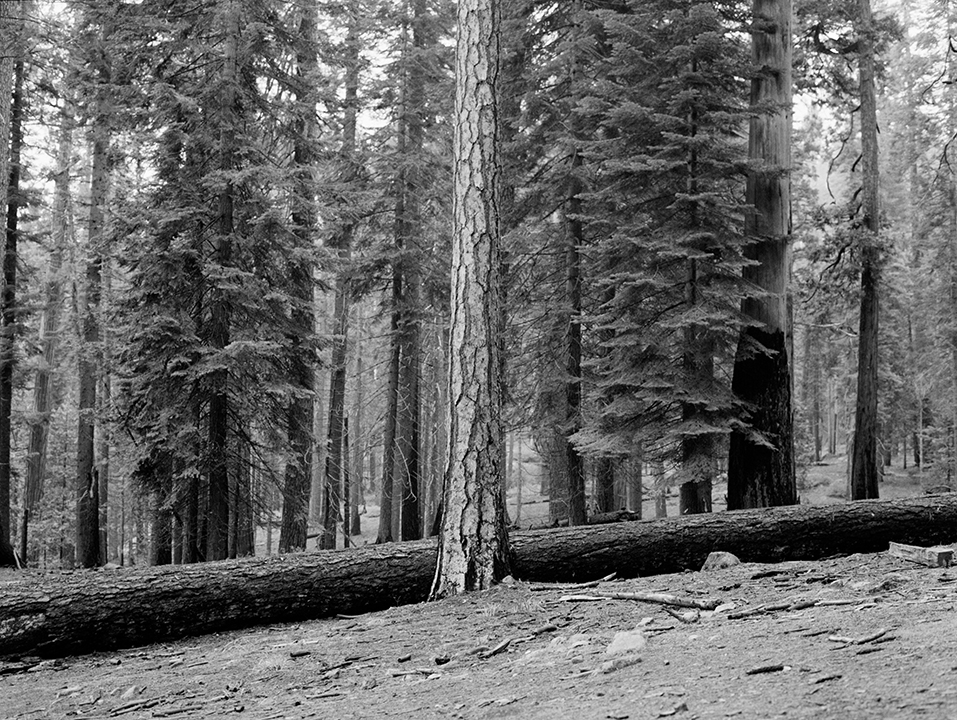
Taiwan was so stimulating. Everywhere we went there was something to learn or see. All the Taiwanese people we encountered were warm and gracious. I walked away from that country really feeling enriched from the bright and inclusive culture that is uniquely Taiwan. [Shot on Portra 400 taken with a Canon EOS-3]

Tuesday 11.01.16
Posted by Sarah Robertson
Comments: 1
 

Corona Arch

It is no secret that I am completely in love with the landscape in Southern Utah. That Red Rock mesmerizes me every time I experience it. I have photographed it time and time again and am always left intrigued. I always want to go back. However, the images never quite match up to what I see in my head. This time around I thought I would try and capture what Southern Utah makes me feel rather than how it looks.  These images were taken with Kodak E100VS, which is originally a slide film. I had it cross-processed, which means I had it developed as if it was a C-41 film, which adds some pretty major saturation to the color. Because of the statement this process makes, you either love it or you hate. In this case, I love it. The crazy potent reds with that brilliant blue sky may not accurately represent what Southern Utah looks like but for me, it captures what I feel like when I am in the landscape. [Shot on E100VS taken with Holga]

Saturday 10.01.16
Posted by Sarah Robertson
 

Black and White Developing : A Tutorial

Black and white film development is where it all begins.  This is where you get to make your images into a reality. This practice, which used to be quite commonplace, is a bit of a dying art these days. I thought I would give you a basic overview of the process.  Whether you’re getting back into the film development or you are a new comer, please, feel free to look over the tutorial – and get ready to make some magic, because that is what developing your own film is my friends, magic. 

Step 1 - Before you Start

One of the most important tools you’ll need is the Massive Developer Chart. This can be obtained through an online guide or via your phone or tablet as an app. The online guide is a free resource that will allow you to plug in almost any type of black and white film imaginable, along with nearly any type of developer, and gives you an accurate information about how long and at what temperature you should develop your film.  The app is a bit costly at $8.99, and performs the same function as the website but I’ve found it most useful because it comes with its own built in timer. It is my go to app for film development.

-The app http://www.digitaltruth.com/apps/mdc/

-The Online Guide http://www.digitaltruth.com/devchart.php

Step 2 – The Supplies

Although quite affordable in the long run, you’re going to have to lay down a little under $100 to get started on your black and white film developing journey. So, let’s talk about the things you need…

Chemicals

            -Developer (I’ll be using Kodak D76) $5.79 for a packet that makes a gallon

            -Fixer (Ilford Rapid Fix is my favorite) $9.95 for 1 Liter

            -Wetting Agent (Kodak Photo Flo is the way to go) $7.99 – this stuff will last forever

            -Distilled Water (Easily found at any neighborhood grocery store) $1

The Equipment


            -Tank (Samigon Stainless Steel Tank with Plastic Lid for 2x35mm or 1x120 Reel) $29.95

            -Reels (Samigon 35mm Stainless Steel Reel) $14.95

            -Scissors

            -Bottle Opener

            -Measuring Containers ~$10

            -Thermometer (I bought a food temperature one that works just great)

            -(2) 1 Gallon Tanks – You can get creative here and use really well washed out milk jugs, really, anything that can hold a gallon is prime . I personally have a two gallon plastic storage tank. But really anything that is clean and can hold the chemicals will do.

            -Dark Bag or Dark Room (I use my bathroom because it’s light tight and dark)

            -Massive Developer Chart $8.99

*all prices for supplies come from http://www.bhphotovideo.com (circa 2015)

Step 3 - Loading your film

This has always been the scariest part of the process for me. Either you put the film on the roll right, or you don’t. Luckily, it’s pretty easy to tell if you’ve done it right or not. Because this step has to be done in complete darkness I would suggest practicing in daylight first.  It hurts to sacrifice a roll but I’d rather destroy one roll rather than many because I wasn’t prepared! Below I've created a short little video to walk your through the steps of how to do this. Just remember the 6 basic steps. 

-Pop off lid of film canister, remove lid, push middle post up to retrieve film

-Feel to find the lead of the film and cut off at a straight angle (try not to cut through sprockets)

-Feel for two prongs on reel (or the spring in the video), match up straight edge to prongs (be sure to only grasp film by its' edges)

-Hold film taut as you begin to roll it onto the reel. I would hold film in right hand as you turn reel with your left hand

-Once film is completely on the reel snip off the end of film from middle post

-Place reel in light tight film developing container, make sure lid is secured tightly

Step 4 - The Process of Development

Now, finally time for some chemicals! This process is pretty easy to keep track of, even easier if you follow the steps on the Massive Developer App. Just be sure to have your chemistry mixed and labeled well before you start! (Mixing is pretty self explanatory, just follow the directions on the label of the chemicals)

-PreWash with Water - 1 minute

-Developer – Depending on what film you use this varies. In this case I shot TriX 400 and I’m developing it with D76 with a 1:1 ratio. (1:1 refers to 1 part developer, 1 part water) So, I’ll be developing it for 6 minutes and 30 seconds. When finished pour out developer. 

-Stop Bath – For this step you can use a Stop Bath, personally, I like using water. Both are good options. The stop bath stops the development immediately. The water stops development as well but not as instantaneously as the stop bath. Dump stop when finished with this step. 

-Fixer - 7 minutes. I’m sure other people vary in what times they recommend fixing. I find that 7 minutes is what I prefer. If your film comes out looking purple this means you didn't leave your film in the fix for long enough. Fixer can be reused up to a certain amount of times, so try and recycle and put the fix back in bottle when your 7 minutes are up. 

-Final Wash – 10 minutes. Be sure to take the lid off of the development tank so the film can get a nice good wash.

-Wetting Agent- I dump the tap water from the final wash, fill the canister with distilled water, and then add the wetting agent (about 10 drops). I then rotate the reel just with my finger in the canister for 1 minute.

-Dry – Take it off the roll and hang to dry. I find air-drying takes about 45 minutes to an hour. Just be sure to hang it in a place where it will come in contact with the least amount of dust!

Step 5- Enjoy!

You have officially developed your own roll of film. Congratulations! From here you can either print your images with an enlarger in the darkroom or you can scan them. Either way you are now on the way to becoming an official Film Photography Guru.

Thursday 09.01.16
Posted by Sarah Robertson
 

Oahu

Oahu was one of the most beautiful places I have ever been. I always thought going to Hawaii was a bit of a cliche. I never thought that it could really live up to all the hype and attention it got. I am more than happy to say I was totally wrong. There is something so wonderfully intangible about this place. There really is this great spirit of adventure there. Really hope I can find a way back there someday.  [Shot on Portra 400 taken with a Mamiya 645]

Tuesday 08.23.16
Posted by Sarah Robertson
 

Meadow Hot Springs

The Meadow Hot Springs are in the middle of no where. And when I say no where, I mean in the middle of farm land about two hours south of Salt Lake City. These hot springs are located on a fine farmers property. Due to the good nature of landowners hearts they allow people to come and soak for free. It is such an odd location for a hot spring, alas, it's a great soak. The water is this brilliant blue and the view of the mountains doesn't hurt either. These images were taken about this time last year and I'm anxious to go back get another soak in. [Shot on Portra 160 pushed 1 stop taken with a Mamiya 645]

Tuesday 02.09.16
Posted by Sarah Robertson
 

Utah State Fair

Every time I attend a fair I get hit with a feeling of nostalgia. I think we all do. It is hard not to think back to your childhood - how the idea of going to the fair was just so exciting. It's different as an adult though. The magic isn't there instantaneously. I have to look. I have to open myself up first before I can feel the excitement on the culture I am in. But once my eyes are opened I get immersed. I find myself distracted by all the colors, the noise of the screams from the ride to my left, the sugary aroma that I breathe in deep as I walk by all the food stands. I only got to spend an afternoon at the Utah State Fair but it was worth immersing myself in that culture, even if only for a few short hours. [Shot on Portra 160 taken with a Mamiya 645]

Thursday 10.01.15
Posted by Sarah Robertson
Comments: 1
 

Punchbowl Falls

Punchbowl Falls is one of my favorite hikes in the Columbia River Gorge. Not only does it have a gorgeous waterfall at the end but the hike is this beautiful trail covered with all sorts of lush greenery. It is also a relatively short hike, round trip is just a little under four miles. This is one of the quintessential Gorge hikes and I would highly recommend it.  [Shot on Portra 400 taken with a Mamiya 645]

Tuesday 09.29.15
Posted by Sarah Robertson
 

Utah Lake

Utah Lake is a fresh water lake nestled right next to the Provo area in Utah. After all my years in that part of Utah I still have yet to swim in the lake.  It seems that Utah Lake has always been a destination in my mind. It is a place where we are running to, biking to, or passing as we head somewhere else. I thought it was time to spent some time at the lake and make some photographs.  [Shot on BW400CN taken with a Canon AE-1]

Thursday 08.20.15
Posted by Sarah Robertson
Comments: 1
 

Mariposa Grove

Growing up in Oregon means that I'm quite the tree hugger. Some of my favorite subject matter is trees. Mariposa is a bit of a mecca for people like me. Mariposa Grove is in the most southern part of Yosemite National Park. It is famous for its' Giant Sequoias and the ever large Grizzly Giant. I was totally in awe of these trees. They are so majestic and grand. It is a humbling experience to stand next to something like that and realize that your existence is just a blink of an eye compared to the time these trees have been around. [Shot on TriX 400 taken with a Mamiya 645]

Tuesday 08.18.15
Posted by Sarah Robertson
 

Echo, Utah

Finding Echo was pure luck. I decided I wanted to shoot somewhere I’ve never been before so I tried googling best places to photograph in Utah. After that failed attempt I got on google maps, zoomed into Utah, and started looking for towns with interesting names. I scrolled past Echo and thought that could work. 

On a quiet Sunday afternoon, a few days later, a good friend and I set off on a photo adventure. Echo was eerily quiet. I would classify it as a semi ghost town. The only human interaction I had was when big pickup trucks full of questionable looking men would slowly drive by and give us the “stare down”. Despite being slightly terrified, Echo was a success. I enjoy shooting towns like Echo because I’m able to document a piece of history that has been worn down with time. [Shot on Portra 160 taken with a Mamiya 645]

Sarah_Robertson_Echo_003_RE.jpg
Thursday 08.13.15
Posted by Sarah Robertson
Comments: 1
 

Pride Festival

Back in June I went to the SLC Pride Festival and took the opportunity to document the experience. It has been a long time since I have had a chance to do any street photography and it was surprisingly fun. Usually I am so full of dread when I shoot on the streets - I'm convinced someone will yell at me and threaten to destroy my camera.  But everyone was so friendly and willing to let me take their picture. Let me tell you - that almost never happens. It really spoke to the essence of what the Pride Festival is - people were open and proud of what they were doing, what they were in part of. It was a refreshing crowd to be around. [Shot on Portra 160 taken with a Canon AE-1]

Thursday 06.25.15
Posted by Sarah Robertson
 

The Entrance Ocean Baths

My grandmother was an Aussie and she had a pretty tough go growing up in Australia. She ended up immigrating to the US in her early adulthood where she died when I was pretty young, I believe I was 10. Right before she died she told me three things - grow up to be a good kid, do your family history, and that she was sorry we didn't get the chance to visit Australia together. Visiting Australia last year was a dream. These images were taken at The Entrance, a little town right on the water. These "ocean baths" are quite unique to Australia. Essentially, they are salt water pools that are naturally filled by the ocean. I loved the crash of the waves in the background that paired so nicely with the click of my shutter. Being there, thinking about my grandmother, as a young girl swimming in a pool just like this one was a special experience.  [Shot on TriX 400 taken with a Canon AE-1]

Sarah_Robertson_EntranceSwimmingPool_001-RE.jpg
Tuesday 06.23.15
Posted by Sarah Robertson
Comments: 1
 
Newer / Older

Powered by Squarespace.